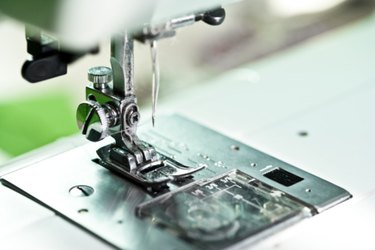
A sewing machine has a set of metal feed dogs that use friction to help feed the fabric towards the needle for stitching. The metal feed dogs looks like zigzag teeth that raise and lower through the two openings in the needle plate. The feed dogs are located in the area above and behind the bobbin case. Some sewing machines have a drop feed lever to the right of this bobbin case in the hook area. You can move the feed dog lever to raise or lower the feed dogs.
Step 1
Turn off the power. Remove the accessory compartment located in front of the machine, if applicable.
Video of the Day
Step 2
Open the hook cover that shields the bobbin area. Please note that you do not need to remove the bobbin case.
Step 3
Locate the drop feed lever near the bobbin case. Some machines have the lever towards the back of the free arm. Press down on the lever and then move it to the next notch or position. The raised metal feed dogs should be visible through the openings on the needle plate. You may need to rotate the big balance wheel one rotation to engage the mechanism on some machine models. The metal teeth will then spring up.
Step 4
Close the hook cover. Insert the accessory compartment, if applicable.
Step 5
Turn on the power. Try test stitching a piece of fabric. The raised feed dogs should help guide the fabric under the presser foot.
Tip
Some machines have a knob or button to position the feed dogs.
Video of the Day