Things You'll Need
Strong cardboard
Ruler
Scissors
Yarn
Needle
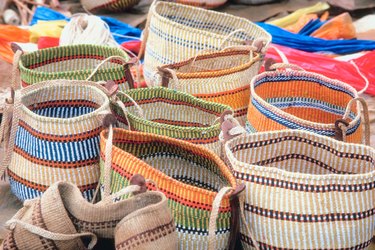
Weaving a handbag is a great first project for beginner weavers, and you can even make the loom for weaving from old cardboard lying around the house. A woven handbag can be made as a single piece of weaving that goes on both sides of the loom so that the structure of the bag is created in the weaving process. No sewing or cutting is required, except for attaching the handle.
Step 1
Cut a piece of cardboard that is around 2 inches larger on all sides than you want the finished handbag to be. For example, if you want a handbag that is 12 inches wide and 10 inches high, cut the cardboard to 14 by 12 inches.
Video of the Day
Step 2
Measure and mark every 1/4 inch along the top edge of the cardboard, then cut a notch 1/2 inch deep at each marked point. Cut one notch on the bottom right of the cardboard around 1/4 inch in from the edge. This is the loom for the woven handbag.
Step 3
Slot the end of a piece of yarn into the first notch on the top left of the loom, leaving a tail of around 6 to 7 inches. Pull the yarn around the back of the loom, around the bottom edge of the loom and back up the front of the loom and into the first left notch again.
Step 4
Pull the yarn around the back of the loom into the second left notch and then down the front of the loom, around the bottom edge, up the back of the loom and into the same second left notch again. Pull the yarn over the front of the loom to the third left notch and repeat the pattern of the first notch. Continue stringing the loom in this way until you reach the other side, securing the end of the yarn into the notch on the bottom right of the loom. These are the warp threads of the loom.
Step 5
Thread a needle with the color you want to weave into the threads strung on the loom. Start from the bottom left side of the loom and thread the needle under and over the warp threads until you reach the right side of the loom. Check whether the needle has gone under or over the last warp thread on this side of the loom, then turn over the loom.
Step 6
Thread the needle over or under the first warp thread on the bottom left of the back of the loom, opposite to the last warp thread on the front of the loom. So if the last warp thread on the front was threaded over, the first on the back should be threaded under.
Step 7
Push the woven threads down every two or three rows so the weaving remains tight, and continue around the loom in the under-over pattern until you reach the top. If you need to change colors or add yarn, just tie the end of a new piece onto the end of the old piece of yarn and continue weaving.
Step 8
Pop the warp threads off the notches in the loom once the weaving is complete, and stretch the weaving to ensure the warp threads are even. The bottom of the weaving will already be closed, and the top open to give a bag shape. Braid a handle to the desired length from yarn, then sew it to either side of the woven bag to finish.
Video of the Day