Chapel veils or mantillas, have been part of religious history since Christianity began. According to St. Paul´s Epistle to the Corinthians, “Every woman praying or prophesying with her head not covered, disgraceth her head.” (Corinthians 11:5). A chapel veil signifies respect and reverence for the church. Rooted in the Catholic faith, parishioners often wear chapel veils during church services and occasionally wear them during wedding ceremonies. You can create your own chapel veil for a traditional look for your wedding ceremony.
Making a Chapel Veil
Measure from the top middle of your head to a stop point on one side. Stop your measurement no farther than your shoulders for a traditional chapel veil or to the floor if you are using a cathedral chapel veil. Be sure to wear the shoes you will wear during the service because this can affect the total length. Double this measurement.
Cut out fabric to match the length you measured. Use a metal ruler if you will be using a straight-edged shape such as a rectangle and mark your cutting lines. Use a rotary circle cutter for a a circular or oblong chapel veil. Cut out the fabric in the desired shape.
Place a cloth over the fabric. Iron the fabric on a low setting in slow circular motions.
Pins the border to the main fabric. Sew the bordering lace using a simple stitch. Use a craft glue or bonding adhesive for a no-sew option.
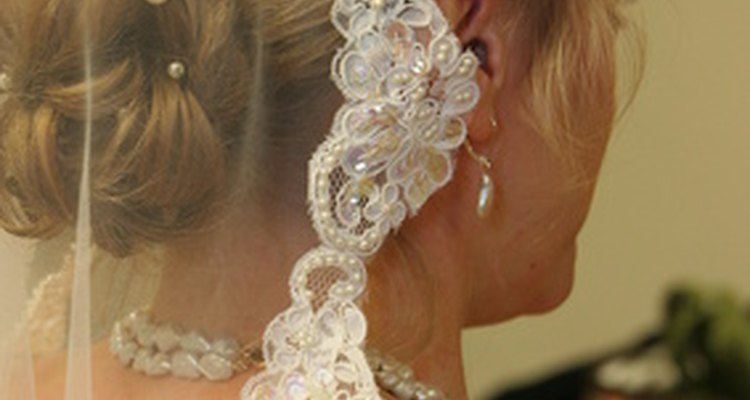
Add embellishments, such as iron-on appliques, pearl beads or sequins. The chapel veil is a traditional garment and often less is more.
Analyze your veil. If the veil seems bare, add more embellishments. If it is too short, go back to Step 2 and use a seam ripper to separate the central fabric from the border. Cut out a new section of fabric and start over. Try the veil on to make sure it fits as you envisioned it and make necessary adjustments. Place the finished veil in a garment bag to safely store it.
Related Articles
How to Make a Bridal Cape for a Wedding ...

How to Make a Fabric Poncho

How to Cut Out the Tulle for Your Veil

How to Make a Child's Veil

How to Steam Wedding Veils

How to Make a Baby Crib Canopy Out of a ...

How to Crochet a Wedding Veil

How to Measure and Cut a Wedding Veil

Steaming a Chiffon Wedding Dress

What Does Couture Mean in the Fashion ...

How to Make a Hooded Cape for a Wedding ...

How to Make a Mantilla Lace Veil

How to Whiten a Veil

How to Make an Edge for a Bridal Veil

How to Create Pencil Edging on a Veil
How to Address an Envelope With ...

How to Tie a French Bustle in a Wedding ...

How to Make a Wedding Shawl

How to Make a Baby Tutu
How to Dress for a Bris Ceremony
References
Writer Bio
Samantha Kemp is a lawyer for a general practice firm. She has been writing professionally since 2009. Her articles focus on legal issues, personal finance, business and education. Kemp acquired her JD from the University of Arkansas School of Law. She also has degrees in economics and business and teaching.
Photo Credits
bride veil hair head style elegant up do image by Paul Retherford from Fotolia.com