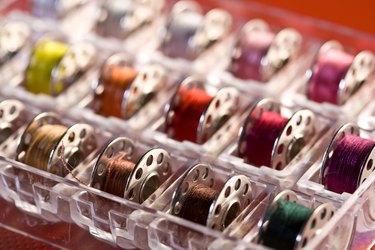
Sewing machine bobbins hold the lower thread that loops with the upper thread spool through the sewing machine needle, creating a stitch that secures, typically, two layers of fabric together. Sewing machines provide mechanisms for tightening or loosening both upper and lower threads. However, while the upper thread tension adjustments are clearly marked and easily accessible on a Husqvarna sewing machine, adjusting bobbin thread tension can be tricky. Ideally stitches will look the same on both sides of the fabric. But a too loose or tangling thread stitch requires immediate attention.
Identify the Problem
Video of the Day
Step 1
Determine if the stitch problem is in the upper or lower threads. Generally, if the thread is bunching up under the fabric, the upper tension regulator dial should be adjusted.
Video of the Day
Step 2
Check that the spool threading of the upper machine levers and guides is correct.
Step 3
Check what type of needle is in the machine. If sewing on sheer or knit fabrics, and missing stitches is the problem, the universal needle should be changed out for a ball point needle. However, if problems persist, it's time to work on bobbin tension.
Too Loose Tension
Step 1
Tighten the bobbin spring screw with a small flathead screwdriver (provided with the Husqvarna tool kit) a fraction to the right—or clockwise. The bobbin spring screw is located on the perimeter of the bobbin case.
Step 2
Test sew a fabric section.
Step 3
Continue tightening the bobbin case screw in marginal increments until the stitch is the same on the top and bottom of the fabric.
Too Tight Tension
Step 1
Loosen the bobbin case screw with the flathead screwdriver by turning the screw to the left—or counterclockwise. Again, do so in small increments.
Step 2
Test the stitch on a piece of fabric after each adjustment. Keep in mind that thicker threads will exert more pressure on the bobbin case, and will require loosening of the case screw.
Step 3
Continue loosening the bobbin case screw in marginal increments until the stitch is the same on the top and bottom of the fabric.