Things You'll Need
Tape measure
Wood stakes
Long string
Shovel
Tarp
Tamper tool
3/4-inch angular gravel
2-by-4-inch form boards
Brackets
Screws
Drill
Hammer
Expansion joint
Cement
Cement mixer
Gauge rake
Trowel or float
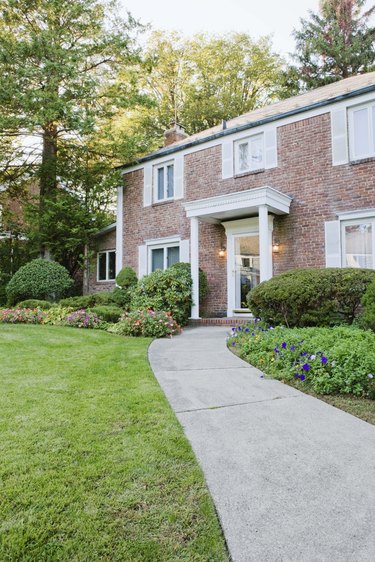
A cement sidewalk provides a smooth, sturdy surface that can last for decades. Installing one is a challenging do-it-yourself project that calls for specific materials when laying the sidewalk beside a home foundation. Since cement shrinks and shifts with changing temperatures, an expansion joint must be laid between the foundation and new cement to absorb tension and prevent jagged cracks.
Step 1
Use measuring tape to identify the site's dimensions. The width should be at least 4 feet for a main sidewalk. Insert wood stakes in the corners and every 4 feet down the sides. Tie a long construction string around the tops of the stakes to outline the project.
Video of the Day
Step 2
Dig out growth and topsoil from within the outline with a shovel. Pile the soil and growth on a tarp to use later in other areas of the yard. Dig out 8 inches from the site and verify the depth with a measuring stick in different sections to ensure consistency. Pitch the bottom on a smooth slope so the edge is 1 inch higher than the other side, so water will run away from the house.
Step 3
Press a tamper tool over the bottom of the site until the subsoil feels hard.
Step 4
Build up the gravel base by pouring two 3-inch layers of 3/4-inch angular gravel and compacting it between each base.
Step 5
Arrange 2-by-4-inch form boards against the inner borders of the site at the two ends and at the side of the site opposite the foundation. Attach them at adjoining ends with brackets, a drill and screws. Brace the boards by hammering stakes behind them every few feet.
Step 6
Line the side of the site along the foundation with a 1/4- to 1-inch-thick expansion joint. Made from foam, rubber or another flexible material, the expansion joint must extend up from the base to the sidewalk level. In addition to blocking water from running down the side, the joint acts as a buffer between the foundation and sidewalk.
Step 7
Mix cement and small portions of water in a mixer until the blend has a thick consistency. Pour it from one end to the other. Use a gauge rake to disperse the cement evenly, and spread it smoothly by running a trowel or float over the surface.
Step 8
Cut control joints through the width of the sidewalk with the edge of a trowel after the cement sets for two hours. The joints should be half as deep as the slab is thick and spaced 8 to 12 feet apart for a 4-inch-thick slab. Control joints are planned cracks that allow the sidewalk slab to move when temperatures drop below freezing. Cover the sidewalk with breathable fabric and let it set for seven days before removing the forms.
Video of the Day