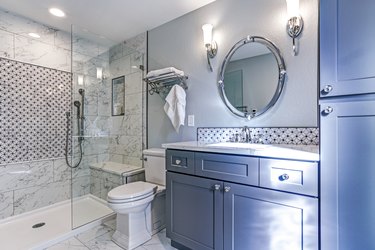
Favored for their solid coloring and nonporous nature, acrylic shower pans are constructed of molded acrylic plastic sheets. Like all shower pan finishes, an acrylic shower pan requires routine maintenance to retain its appearance. Neglecting to clean acrylic shower pans allows them to become discolored by grime, which becomes harder and more bonded to acrylic over time. Scratches and dull spots from wear and tear also detract from acrylic shower pans' visual appeal. Promptly restore a dirty, scratched or dull acrylic shower pan to improve the shower stall's overall appearance.
Be careful when cleaning your acrylic shower pan, because even though the finish looks durable, it actually scratches quite easily. If you want to prevent scratches, avoid using abrasive cleaning implements, like coarse sandpaper or steel wool. You shouldn't need these implements anyway, because most debris that has hardened onto the surface can either be rubbed out or removed with a plastic implement, such as a putty knife, that won't scratch the acrylic.
Video of the Day
Video of the Day
Cleaning an Acrylic Shower Pan
Step 1: Prepare Cleaning Solutions
Squirt 1/2 teaspoon of non-alkaline liquid dish detergent into a pail. Stir in 1 gallon of warm water to create a mild solution for cleaning the shower pan. Dish detergent may not sound like a strong cleaner, but it's actually quite effective for acrylic.
Fill another pail with warm water. In addition, put on rubber or other waterproof cleaning gloves if you don't want your hands to get grimy while cleaning the shower pan.
Step 2: Wipe Down the Shower Pan
Saturate a clean rag in the mild solution. Using the cloth, wipe the acrylic shower pan to remove grime and discoloration. Rinse the rag in the water after each time you wipe the shower pan. Continue wiping the entire shower pan with the mild solution until the acrylic is completely clean. Rinse the rag after each wipe.
Step 3: Rinse and Dry
Refill the pail of water with clean, warm water. Using a clean wash cloth, wipe the entire shower pan with the clean water to rinse off any residues. Wipe the acrylic thoroughly with a clean towel.
Scratched, Dull Acrylic Shower Pans
Step 1: Apply Metal Polish and Buff It
Clean the shower pan as instructed in Section 1. No grime should interfere with the restoration procedure. Apply a quarter-size amount of metal polish to a clean wash cloth. Gently rub the metal polish over the scratched and dull areas of the shower pan using circular motions. Continue buffing the acrylic surface with the polish until the dull areas become shiny again. Remove as many scratches as possible.
Step 2: Sand Out Scratches
Moisten 1,500-grit sandpaper with water if deep scratches remain. Using circular movements, gently rub the moist sandpaper over the scratched shower pan until the scratches fully disappear. Sand the area surrounding the scratches, as well, to blend the repair.
Step 3: Apply Automotive Polish
Wipe the sandpaper dust off the shower pan using a tack cloth. In addition, thoroughly dry the acrylic surface with a towel. Squeeze a quarter-size portion of automotive polishing compound onto another wash cloth. Gently rub the compound in circular motions over the shower pan until the sanded acrylic shines and no compound residue remains.