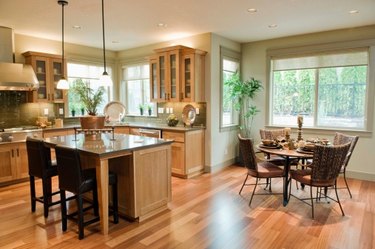
IKEA kitchen cabinets have a frameless construction such that, when you look at them from the front, you can see only the doors and drawer fronts. The inside of a typical cabinet is either birch or white. Since IKEA offers a variety of different door colors and styles, ranging from white to dark brown and even red, the cover panels are necessary to cover any exposed sides. A cover panel of the same finish conceals the birch or white frame and makes the kitchen color uniform.
Step 1
Align the cover panel on the correct side of the cabinet frame.
Video of the Day
Step 2
Clamp the cover panel in place using an adjustable C-clamp, also known as a quick clamp. If the grips of the clamps aren't protected, use a piece of foam or something soft to protect the cover panel's finished side from the clamp. A metal clamp could damage the finish if it is over-tightened.
Step 3
Use a Phillips screwdriver to drive one of the screws that comes with the unit into the fourth hole from the top of the frame in the front row of predrilled holes. Do the same in the rear row of predrilled holes.
Step 4
Drive a screw into the fourth hole from the bottom of the frame on both sides of the unit.
Step 5
Put the two remaining screws in the middle of the front and middle rear rows of holes, if the cover panel is attaching to an 80-inch or 88-inch pantry cabinet. If the cover panel is attaching to a base cabinet or wall cabinet, you don't need to use the remaining two screws.
Video of the Day