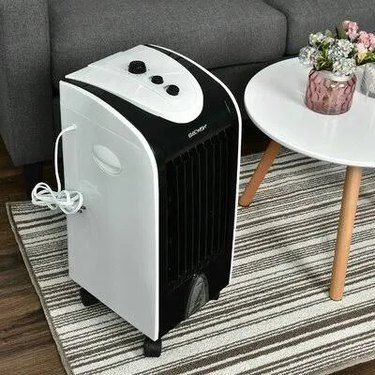
Portable evaporative coolers have removable water tanks that you can refill, but fixed units mounted in windows, walls, or roofs need to have a water supply line. You attach this when you install the cooler, and it maintains the water level in a pan at the base of the unit from where an internal pump circulates the water through the evaporator pads. The pan has a float valve that works almost exactly like a toilet float, turning on a water valve when the level in the pan falls below a preset level.
It's important to read the installation instructions for your particular unit. The instructions will specify the diameter of the water line, which can vary from 1/4 to 1/2 inch. It will also provide an installation diagram, which will show the assembly sequence for the float valve to which the water supply line is attached. As for where to draw the water, that depends. If the unit needs a 1/2-inch supply line, you usually tee a water pipe into your home water supply, but if it takes 1/4-inch tubing, it's easier to connect it to an outdoor faucet.
Video of the Day
Video of the Day
Connecting to an Outdoor Spigot
Whether you're installing a window- or wall-mounted evaporative cooler, the installation instructions will probably specify a 1/4-inch water line. The best water source for this is an outdoor faucet with a built-in auxiliary 1/8-inch female outlet, which is usually referred to as an evaporative cooler faucet. Your best bet is to buy this faucet along with tubing (plastic is easier to run than copper), a needle valve, and the connection fittings all rolled into a single evaporative cooler hook-up kit.
You replace your existing faucet with the evaporative cooler faucet and screw the needle valve into the 1/8-inch outlet. You then use the compression fitting in the kit to connect the water line to the needle valve. The needle valve is important because it allows you use of the faucet when you have to turn off water to the cooler.
Teeing Into a Plumbing Line
Rooftop evaporative coolers use more water than side-mounted units, so they are typically serviced by a 1/2-inch water line. This is the same size as all the other branch plumbing lines in the house, and you can use 1/2-inch copper, polybutylene, or PEX tubing for the cooler line. Connect the line to the 1/2- or 3/4-inch plumbing pipe closest to the cooler by installing a tee and running the cooler line off the tee.
Run the cooler line indoors or outdoors from the point of connection to the cooler. The easiest way to do this is often to run in through interior walls to the roof and poke a small hole for it directly underneath the cooler. Don't forget to install an inline shutoff valve for the cooler in an easy to access location, preferably indoors, because as part of maintenance, you'll have to shut off the water and disconnect the cooler for the winter.
Connecting the Water Line to the Cooler
The water line attaches to the float valve, which has a threaded male connector that sticks through the side of the bottom of the housing, much like a toilet fill valve connector sticks out from the bottom of the toilet tank. Some manufacturers pre-install the float valve, while others leave that to the installer. If you have to assemble the float valve yourself, simply follow the assembly instructions that come with the cooler. All the parts you need will be provided.
You make the connection with a female compression coupling that is the same size as the float valve connector. You may have to install the connector onto the tubing either by soldering it, using barbed connectors, or crimping it depending on what type of tubing you use. Once you've completed that, screw the connector onto the float valve, turn on the water, and adjust the float to make the water stop when the level in the pan meets the manufacturer's height specification.
