Things You'll Need
Driftwood
Microwave
Plastic bag
Gasoline container filled with gasoline
Twist tie
Vacuum
Pencil
Carving knife

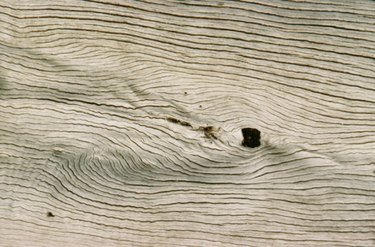
Driftwood already has a storied appearance before you begin carving it. Having been carried downriver or through the ocean, it has a worn, interesting look. Often, a piece of driftwood already bears a resemblance to some other object, and you may get an idea immediately of what you would like to carve into it. From collecting the driftwood to preparing and carving it, turning driftwood into art is a satisfying hobby.
Step 1
Find an appropriate piece of driftwood for your carving. Look along coasts and riverbanks for pieces of driftwood the right size and shape for your carving. Some times of year are better than others for finding driftwood. In northern areas, between October and April are good times to find driftwood. If you find many pieces, collect several so you have some for future use.
Video of the Day
Step 2
Prepare the wood. One of the benefits of carving driftwood is that the sap has already been sluiced out of the wood by the river or ocean. This means that the wood won't rot. However, it may have woodlice or other bugs in it, so you need to kill the bugs that could damage your work. If the wood is small enough, put it in the microwave for a minute. If your wood is larger than your microwave, put it in a plastic bag and seal the opening of the bag around an open container of gasoline. Use a twist tie to fasten the bag to the container's opening. The fumes will kill the bugs. After the bugs are dead, vacuum the wood to get all the dirt and sand out of the crevices.
Step 3
Draw the image you'd like to carve directly on your driftwood. This is hard to get used to at first because drawings are two-dimensional and carvings are three-dimensional, but it's very helpful to have some physical lines to guide you while you carve. Use a pencil to draw the image so you can erase as necessary. Your drawing doesn't need to be too detailed, but it does need guide points. For example, if you are going to carve a face, make sure you have lines or sketches for the eyes, nose, mouth, ears, hairline and cheekbones.
Step 4
Make sure your carving knife is sharp. A sharp knife is easier to work with and much safer than a dull knife. If you use a razor blade-type knife, replace the existing blade with a new one. If you are working with a jack knife or carving tool, take it to a wood sharpener to have it sharpened, unless you are already experienced with sharpening it yourself.
Step 5
Use the guidelines you drew on your driftwood to carve the image into three dimensions. Carve wood away from areas that will recede. Again, to use our face example, you'll carve the sides of the nose but keep the tip of the nose as full as you want it to be. You'll carve away the sides of the face.
Step 6
When you've carved the main edges of your image, remember to add texture to your carving. Texture gives your carving a realistic look. If you have carved a bird, consider adding texture lines to its feathers. If you have carved a person, carve texture lines into its hair.
Tip
Point your knife away from you, and make sure you hold your wood steady while you carve so it doesn't slip and cause you to cut yourself.
Video of the Day