Things You'll Need
Light brown modeling clay like Model Magic
Black modeling clay
Red modeling clay
Googly eyes
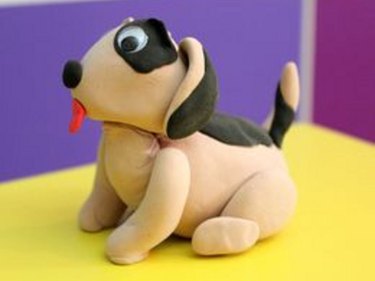
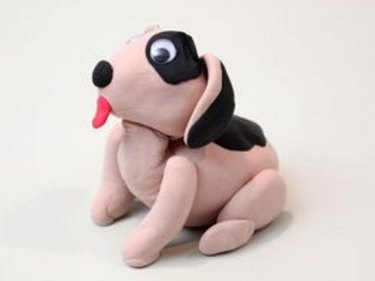
Sit! Stay! Craft! Making this four-legged friend out of clay is not "ruff" at all, and it may even inspire you to create additional animal sculptures. The trick is molding the individual parts into basic shapes before assembling the dog. Once you have the basic shapes down, you can customize the dog however you want – make the ears bigger or smaller, make the body longer, change the color of the fur – it's all up to you.
Step 1
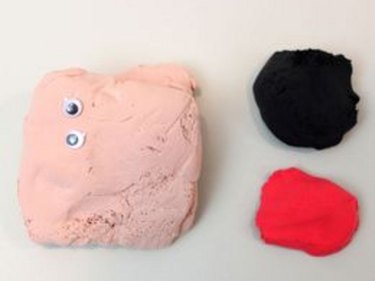
Choose what colors you would like your dog to be. Air dry modeling clay like Model Magic is available in several colors. The dog pictured in this project requires light brown and black clay for the body, red clay for the tongue and a pair of googly eyes. Please see the last slide for an itemized list of tools and materials.
Video of the Day
Step 2
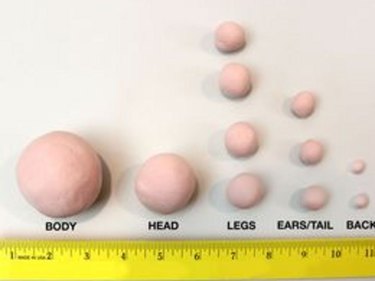
Using the palms of your hands, roll the light brown clay into spheres of different sizes. The largest sphere is the body. The next largest sphere is the head. The four middle size spheres are the legs. The three small spheres are the ears and tail. And the tiniest spheres are the back paws.
Step 3
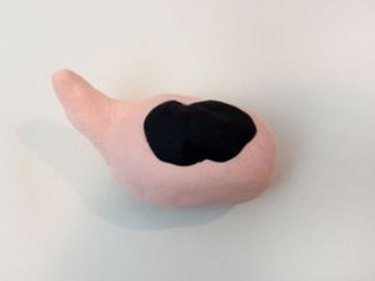
Stretch the large sphere into a pear shape with a narrow top and a fatter bottom. Take one or two small pieces of the black modeling clay, flatten them and apply them to the back of the "body" to make the dog's spots.
Step 4
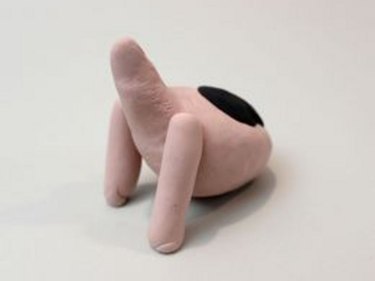
Roll two of the midsize spheres lengthwise to make the front legs. Stick the legs onto the front of the body, pressing gently to make sure the two parts stay secured.
Step 5
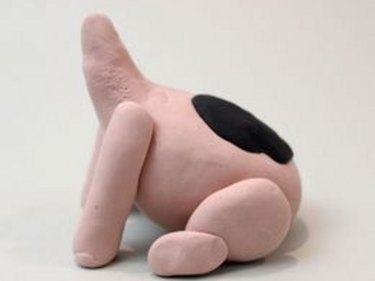
Each hind leg is actually in two parts. Take the other two midsize spheres and flatten them slightly, molding them into a teardrop shape. These will be the thighs. Attach them to the bottom of the body, applying gentle pressure. Then finish off the legs with the back paws, shaping the tiniest spheres into ovals and sticking them onto the thighs.
Step 6
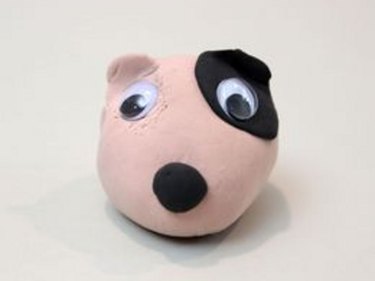
Taking the sphere that's meant to be the head, work the clay into a cone shape where one end is pointier than the other. The front of the face will be the pointy side. To make the nose, roll a very small piece of black clay into a ball and flatten it, then stick it to the pointy part of the head. Make two indentations for the eye sockets above the nose and then pinch right above these indentations to make "eyebrows." Then press the googly eyes into the eye sockets.
Step 7
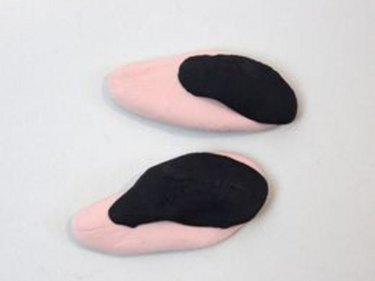
To form the ears, flatten two of the remaining small spheres into long teardrop shapes. Add some black clay on top of these to make the ears spotted. Press the narrow end of the ears into the top of the head.
Step 8
Place the head on top of the narrow part of the body and press down. Where the head and body meet, pinch the pieces together gently to merge the clay. Your dog still needs a tongue. Take a small piece of red clay, flatten it into an oval shape and stick it to the bottom of the head under the nose.
Step 9
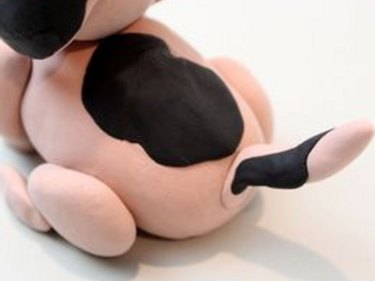
Roll the last small sphere lengthwise to make a tail. If you wish, add some black clay to the sphere before rolling so the tail has black markings. Then attach the tail to the bottom of the dog. Press the tail firmly into the body so that it doesn't droop. Let the dog dry for at least 24 hours before taking it for a walk.
Tip
Work on a piece of wax or parchment paper so the clay does not stick to your table. Wash your hands between steps so you don't accidentally smudge black pieces of clay on the other parts.
Video of the Day