Things You'll Need
Paper
Pencil
Colored pencils
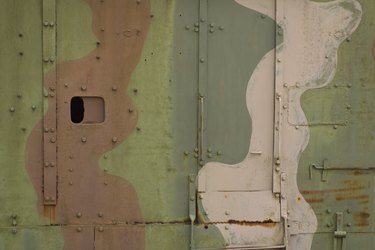
The purpose of army camouflage is to hide and conceal objects or people by covering them with colors and patterns that blend into the surroundings. The colors used in camouflage depend on the surrounding colors, but optimally the colors will include a base color and then three or four highlighting colors that blend in and create the finished camouflage effect. You can easily draw an army camouflage by hand. Once you create the design, choose appropriate colors and fill them in to finish the camouflage effect.
Step 1
Begin drawing a series of freehand lines on the paper. Make unusual and varying shapes, some with oblong and thin areas and others thicker and larger. Vary the shapes and try to make them blend in with each other and complement each other in the design. Fill the entire paper with shapes of different sizes.
Video of the Day
Step 2
Decide what areas of your camouflage design will have the base color. Make the base color the main color of the surrounding area. If you have a forest surrounding area, make the base color a drab shade of green. If you have a desert surrounding area, make the base color a shade of brown. To make a general camouflage design, make the base color a medium green color. Indicate the base color shapes in the camouflage drawing by making small marks in them with the base color.
Step 3
Fill the base color into the desired shapes with the colored pencils.
Step 4
Choose the highlighting colors you will use that will complement the base color. Indicate which highlighting colors you will use in each shape by making small marks with the desired color. Make the highlighting colors both lighter and darker than the base color and try to use an even amount of lighter and darker colors to balance the camouflage effect.
Step 5
Fill in the highlighting colors into the desired shapes with the colored pencils.
Tip
Use the camouflage design you created as a template for creating a camouflage effect on clothing, structures, walls or other objects. Use flat paints for painting camouflage designs onto surfaces because the flat paint will blend in more effectively than shiny paints.
Video of the Day