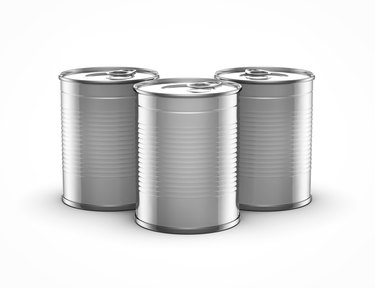
Adobe Illustrator CC offers two tools for creating three-dimensional objects like cylinders. The Extrude & Bevel function takes an existing circle and extends it into a shaded cylinder. The Revolve function takes a rectangular shape and revolves it 360 degrees to complete the cylinder shape.
Extrude & Bevel
Video of the Day
Step 1
Draw a circle by holding the "Shift" key while using the "Ellipse" tool. This circle provides the building block for your cylinder by specifying the size of the cylinder ends. The circle's stroke color defines the cylinder's color.
Video of the Day
Step 2
Click "Effect," select "3D" and then choose "Extrude & Bevel" to open the 3D Extrude & Bevel Options dialog.
Step 3
Check "Preview" to display a live, in-place preview of the cylinder.
Step 4
Enter or select a pixel value in the Extrude Depth field. This value relates to the length of the cylinder, so higher values elongate the cylinder more than smaller values. For a solid appearance, keep the default Cap option selected; alternatively, turn this option off to create a thin-walled cylinder. You can also specify the Bevel shape and height to add shapes to the sides, but for a smooth cylinder, keep the default "None" option selected.
Step 5
Change the X-, Y- and Z-axis values in the Position section to rotate the cylinder according to your needs. You can also select an option from the Position drop-down menu to use existing settings.
Step 6
Click the "Surface" drop-down menu and select the type of shading you prefer. The default Plastic Shading option creates a shiny surface, whereas Diffuse Shading using a softer light reflection. Selecting "Wireframe" creates a transparent surface with lined contours.
Step 7
Click "More Options" to adjust shading options, such as Light Intensity, Ambient Light, Highlight Intensity, Shading Color and Highlight Size. The available options depend on the shading type selected.
Step 8
Click "OK" when you're satisfied with the preview image.
Revolve
Step 1
Draw a rectangle using the Rectangle tool. Because the rectangle will revolve laterally, the height also represents the height of the cylinder, but the width represents the cylinder's radius, or half the cylinder's width. If you want the cylinder wall to have a shaped design, such as beveled edges or ripples, modify the shape of the right edge of the rectangle -- or the left edge if you plan to change the Revolve settings. The stroke color defines the cylinder color.
Step 2
Click "Effect," choose "3D" and then select "Revolve" to open the 3D Revolve Options dialog.
Step 3
Check "Preview" to display a live preview of any settings you change.
Step 4
Adjust the X-, Y- and Z-axis options to change the angle of the cylinder. You can also select an existing option from the Position drop-down menu.
Step 5
Choose an Offset in the Revolve section to create a hollow cylinder with the side width equal to the original rectangle width. You can also select "Right Edge" to create the cylinder by rotating the rectangle around the right edge, which makes the left edge define the side shape.
Step 6
Click the "Surface" drop-down menu and then select either "Plastic Shading" for a shiny effect or "Diffuse Shading" for a subtle shading effect. You can also choose the contoured "Wireframe" option. Selecting "No Shading" creates the cylinder, but it doesn't add shading, so the cylinder shape isn't obvious. Click "More Options" to view shading-dependent options, such as Shading Color, Blend Steps and Light Intensity.
Step 7
Click "OK" to complete the cylinder.