Things You'll Need
Uncooked egg
Upholstery needle
Bowl
Baby's nose syringe
Cool water
Vinyl gloves
Ventilation mask
Pencil
Transfer paper
Fine diamond bit
Rotary tool
Protective sealant
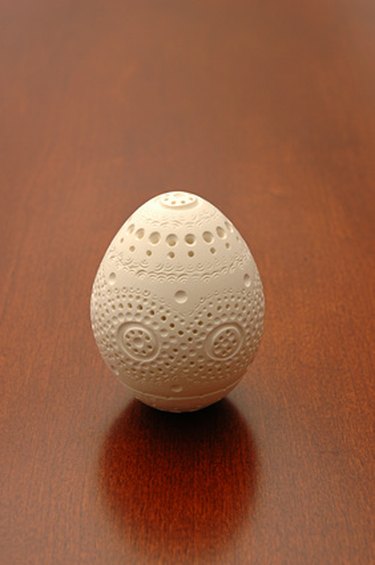
It is amazing that something as fragile as an empty egg shell can made into a beautiful piece of art. Carvings can be made using empty chicken, emu, goose or ostrich eggs. This hobby can be learned at home with limited supplies, for fun or profit. From simple to intricate carvings, with practice you can master this skill and impress your friends and family with your carved egg-shell creations.
Empty the Egg
Step 1
Poke a hole in each end of an uncooked egg with an upholstery needle, with one hole a little larger than the other.
Video of the Day
Step 2
Hold the egg over a bowl. Place the tip of a baby's nose syringe over the smaller hole. Squeeze the syringe to force air into the egg, causing the contents to empty into the bowl.
Step 3
Fill the syringe with cool water and squeeze it into the empty egg. Gently shake the water-filled egg, then blow the water out with the syringe. Allow to dry completely.
Carve the Egg
Step 1
Put on a pair of vinyl gloves and a ventilation mask for your protection from salmonella and dust.
Step 2
Use a pencil to carefully draw your design onto the egg shell. Or use transfer paper to draw your design, then place the paper over the shell and trace the design with the pencil.
Step 3
Place a fine diamond bit on an electric rotary tool. Gently but securely hold the egg shell in one hand, the rotary tool in the other and slowly carve away the design you drew on the egg.
Step 4
Pierce the shell with the diamond bit. Slowly remove the rest of your pattern. Brush off the shell dust with your hands for a smooth finish.
Step 5
Brush or spray the carved egg shell with protective sealant.
Tip
Getting the feel of carving egg shells with a rotary tool takes practice. Do not be discouraged if you break the first shell or two; it will get easier with each shell. You can color the egg shell with acrylic paint to add to the beauty of your carving.
Video of the Day