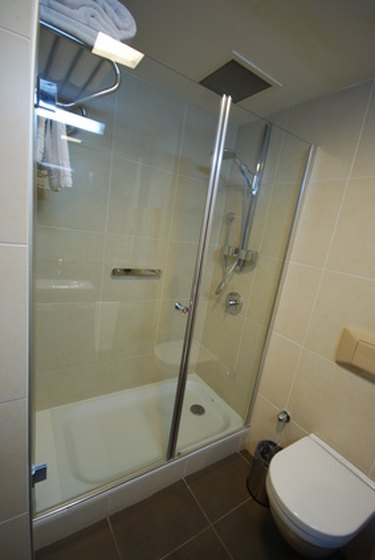
Any shower base is only as level as the floor it rests upon. While shower bases are made of durable materials, an uneven floor underneath will allow the base to flex and give under the weight of those who use it regularly. Soon the shower base will begin to pop and creak, and it will give slightly when you stand on it. Over time and repeated stress, the shower base can crack. Other than repeatedly caulking the crack, the only remedy is to tear it out and install a new base on a level floor.
Step 1
Vacuum and clean the floor thoroughly. Knock down any high places you see or feel with a hammer. Remove any excess, hardened glue from the old shower base by using a scraper or spatula. Make sure the floor is completely smooth.
Video of the Day
Step 2
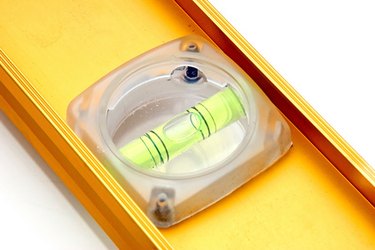
Check the floor for level. Lay a 4- or 6-foot level on the floor from front to back. Check the level's bubble; if the floor is level, the bubble will be in the center section. Repeat this process across the entire floor, roughly every 4 to 6 inches, marking the uneven areas with a pencil.
Step 3
Go to the marked areas one at a time and lay down shims. Use the level to show where you should place the shims. Raise and lower the shims, with the level resting on them, to see how many shims are needed to raise the floor to level. Add the appropriate number of shims to level the floor.
Step 4
Screw down the shims with your galvanized flat-head screws and screw gun. Recheck the floor for level, with the level resting on the screwed-down shims, and adjust them by repositioning, adding or removing shims as needed.
Step 5
Sweep and damp-mop the floor to remove dirt and dust. Measure and mark off the area where you will spread the leveling compound. Mix leveling compound in a bucket according to the directions on the bag, using your drill with an extension and a mixer paddle.
Step 6
Apply leveling compound to the shimmed floor. Pour the mix onto the floor, beginning at the shimmed areas first. Spread the mixture evenly among the shims with a float, working quickly before the compound begins setting.
Step 7
Spread the leveling compound flush with the shims. Allow the compound to get thinner as the shims thin down to nothing. Smooth with a roller. Use a stippled (hedgehog) roller to remove the air from the mixture, and allow it to settle.
Step 8
Allow the compound to dry, usually overnight. Check the floor for level; you should find it completely level.
Step 9
Apply a coat of sealer to the dried leveling compound. Allow it to dry completely before installing the shower unit or pan.
Video of the Day