Trying to turn on an electrical appliance in your home, only to find that nothing happens, indicates you may need to check the outlet for voltage and current. A multimeter is a multi-purpose electrical troubleshooting tool that gives you a measurement of voltage at different ranges, as well as measuring resistance and current. The two most common voltage levels you'll test in a house are 110 volts and 220 volts.
Step 1
Locate the power outlet or component whose voltage you want to test. If you're testing a device, plug it into an outlet to provide electricity.
Video of the Day
Step 2
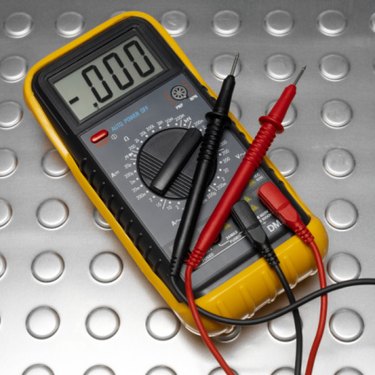
Connect the test leads to the multimeter via their color-coded slots: the red lead goes into the "VA+" socket and the black lead goes into "COM," the ground socket.
Step 3
Turn on the multimeter and set the measurement dial to the AC voltage range you want to measure; 240 volts should be sufficient for any household need. AC voltage is represented by a waveform (~) on the dial.
Step 4
Hold the rubber grips and touch each multimeter lead to a separate contact point on the circuit. Test outlets by inserting a lead into the two top openings in the outlet.
Step 5
Record the voltage reading. Turn off the multimeter and unplug the leads when you're done.
Video of the Day