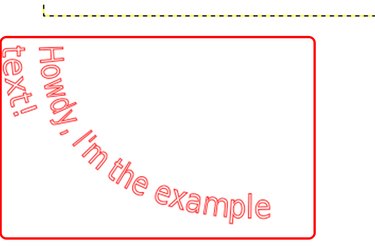
Plain text is useful for conveying information, but not the most visually compelling element of a composition. With GIMP 2.8, you can put a literal twist on boring basic text by bending and curving it. With curves, you can incorporate your text into a logo or create a visually dynamic art project where the text itself is one of the shapes in the image. Curving text in GIMP requires the use of two tools: the text tool to add text, and the paths tool to create a shape for it to follow.
Step 1
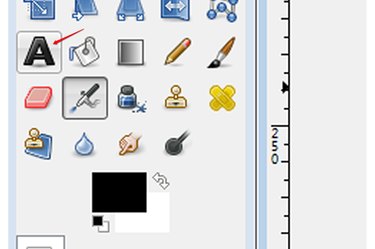
Select the Text tool from the toolbox. The Text tool is represented by a large capital "A," after the Cage Transform tool and before the Bucket Fill tool.
Video of the Day
Step 2
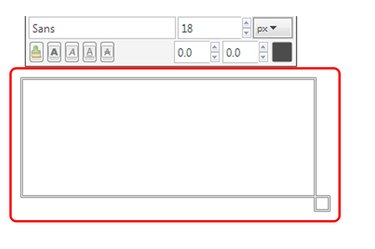
Click and drag a box on the canvas in the desired location. The text field you create always conforms to the box you create, so make it large enough. Since the box itself is transparent, you can also make it a little bigger than you need to give yourself some wiggle room.
Step 3
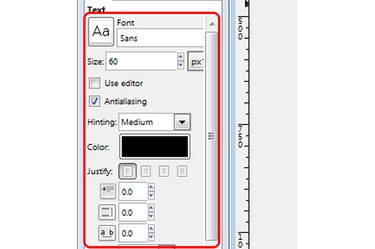
Select your font, text color, text size and other options in the Text Settings menu in the Toolbox. You can also use the Text dialog on the canvas, although it has fewer options than the Toolbox. The dialog is more of "quick" tool for changing simple elements like the font or size.
Step 4
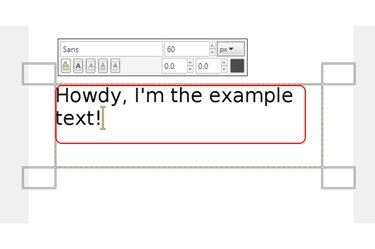
Type the text in the field. Text will fill the box based on the alignment you have chosen, such as left, right, justify or centered.
Step 5

Select the Paths tool, shaped like a fountain pen.
Step 6
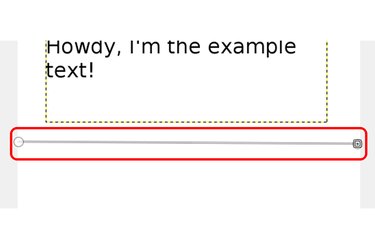
Draw the basic path you want the text to follow. To begin with, this path won't be curved but instead will take an angular form based on straight lines between the points.
Step 7
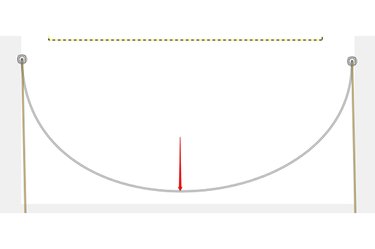
Click the point on the path line where you want it to curve, and drag the line into the desired shape. Dragging from different points on the line will create different curve shapes, so experiment by clicking in a few different places and dragging until you find a shape you like. You can click and drag only one point of the line at a time.
Step 8
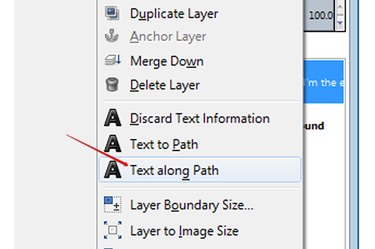
Right-click the text's layer in the Layers palette, and select "Text Along Path" to instruct the text layer to conform to the path you've laid out.
Step 9

Check the text to ensure it's legible and conforms to the shape you wish. If it's hard to read or doesn't fit right, click "Edit" followed by "Undo," or press "Ctrl-Z" until the path is gone, and re-draw it. Getting the text exactly the way you want it takes a few tries, so don't get discouraged -- keep at it until you like it.
Step 10
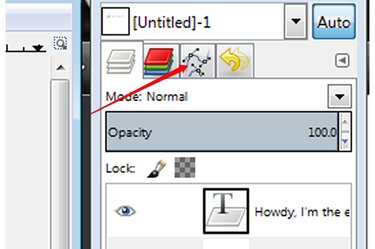
Click the Paths tab on the Layers palette. All paths are stored on this tab, separate from the other layers.
Step 11
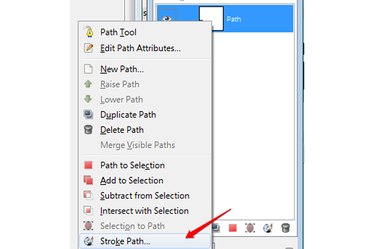
Right-click the path shaped like your text and select "Stroke Path" to open the Stroke Path dialog, which contains all the options for stroking the path. Stroking the path fills the lines and actually applies the effect to the canvas -- before you stroke the path, the lines represent only what will be added to the canvas when you apply the stroke.
Step 12
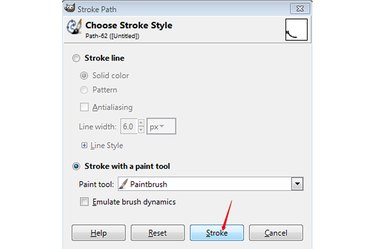
Select "Solid color," "Pattern" or "Stroke with a paint tool" from the Stroke Path dialog, then click "Stroke." This fills in the lines set out by the paths, essentially applying the text to the canvas and creating your curved text. Each option strokes differently, with the paint brush option provides a very simple fill. Before stroking the path, be sure to select the desired color. When you're finished, delete the text layer as it's no longer required to set the path.
Video of the Day