littleny/iStock/GettyImages
Basic Equipment is All You Need
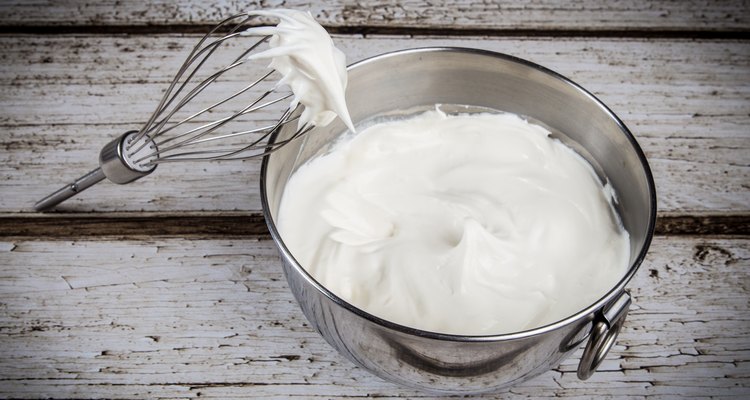
A rubber ducky cake, whether for a baby shower or a first birthday party, would not be complete without realistic bubbles. You might design the cake to resemble a wash tub, place a rubber ducky centered on the top, and surround the duck with bubbles so it looks as though it's taking a bubble bath. Alternatively, add bubbles to accent the cake base. Buttercream frosting and basic cake decorating supplies are all you need to make the bubbles. Substitute vegetable shortening for the butter in the buttercream recipe so the frosting hardens and the bubbles won't soften at room temperature.
Insert a decorating tip coupler in a decorating bag and fill the bag with white buttercream frosting. A coupler makes it easy to switch out different decorating tips without needing a separate bag of frosting for each tip. Insert a large, round decorating tip and screw on the coupler cap to hold it in place.
Hold the decorating bag at a 90-degree angle with the cake surface, positioning the tip close to the cake without actually touching it. Squeeze the decorating bag with firm pressure to squeeze out the frosting. When the circle of frosting spreads out to the desired width for the largest bubbles, slowly lift the tip straight up away from the cake to form the icing into a ball. Stop squeezing the bag and lift it straight up from the ball to break off the icing stream.
Pipe several large bubble balls all over the cake to fill in the the majority of the rubber ducky tub scene.
Switch out the large tip for a medium, round decorating tip. Pipe medium-sized balls in the empty spaces between the large bubbles. The smaller tip works the same as the larger tip.
Switch to a small, round decorating tip and fill in the remaining empty spaces with small balls to resemble small bubbles. Additionally, pipe a few small bubbles on the larger bubbles to mimic the natural tendency for several bubbles to attach to each other.
Allow about 30 minutes for the bubbles to harden on the surface. Brush pearl dust on each bubble with a small paintbrush to give the bubbles a shiny surface that looks even more like real bubbles. Apply pearl dust sparingly because a little makes a big impact.
Related Articles

How to Inject Icing Into a Cake Pop
How to Decorate With Stabilized Whipped ...

How to Decorate Fake Cakes

How to Do Fancy Whipped Cream on Top of ...
Cake Pops Recipe with a Galaxy Design
Things to Put on Top of Your Cake for ...
How to Decorate With Marshmallow Cream ...

What Is Dirty Icing in Cake Decorating?
How to Decorate Cake Using Heavy ...
How to Dry Royal Icing Decorations
How to Make Brownies With Little Ghosts ...
How to Add Meringue Powder to ...

Cupcake Decorating Ideas Without ...
Easy White Cake Recipe
How to Make a Mummy on a Coffin Cake

How to Make a Hogwarts Castle Cake
How to Make a Stork Diaper Cake
How to Make Plaques for Cakes
How to Make Whipped Frosting Without ...
How to Make Whipped Cream Filled ...
References
Tips
- If you want to add some blue to the bubbles, place some of the white frosting in a separate bowl and mix in blue food coloring to achieve a light blue color. Swipe a few stripes of the blue frosting on the sides of the decorating bag before adding the white frosting. As you squeeze out the frosting, the blue color will swirl with the white for a subtle color variation.
Writer Bio
A former cake decorator and competitive horticulturist, Amelia Allonsy is most at home in the kitchen or with her hands in the dirt. She received her Bachelor's degree from West Virginia University. Her work has been published in the San Francisco Chronicle and on other websites.