Things You'll Need
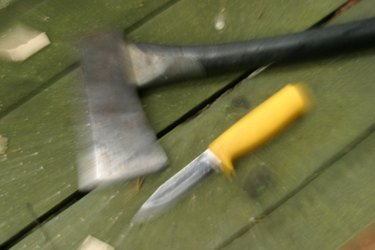
Carving tools
Power tools
Basswood block
Reference skull or photographs
40 grit sandpaper
60 grit sandpaper
80 grit sandpaper
Pencil
Vise or clamp

Traditionally, carving was done with hand tools. These days we have a broad range of efficient methods available. The skillful use of traditional carving tools is a craft learned over time by hands-on experience. The tools used for carving wood must be kept very sharp to be safe and efficient. The skill to properly sharpen your tools is an art form in itself. Power tools are an option for some or all of the tasks involved in this project. A good approach for beginners is to practice carving the skull in Styrofoam using a serrated kitchen knife.
Step 1

Find a suitable object for reference. Any skull object will be sufficient. A toy skeleton, a Halloween decoration, even a small key chain skull will help with understanding the shapes involved in this project. If no skull model is available, use pictures of skulls from various angles; front view, side view, top view etc.
Video of the Day
Step 2
Get a suitable block of wood. In most cases, basswood is best. Any soft wood will do, but there are wood grain issues to contend with when carving common soft woods like pine. With these common soft woods, splitting and grain direction tendencies will need to be considered and respected.
Step 3
Cut the wood block to a proper size. Keep in mind that you will be removing material to create the skull. The wood block should be just big enough to contain the finished skull. Picture the wood block as a box with the finished skull inside.
Step 4
Draw the shape of the skull on the block of wood. Draw the side view on the side of the block. Draw the front view on the front. Draw the top view on the top, etc. As you carve removing wood, redraw as necessary.
Step 5
Begin to carve the skull by crudely roughing out the skull shape. Continually refer to the skull reference model. At this stage, employ any method that removes the material safely and efficiently: power sanding, hand sawing, use of carving tools, a band saw or saber saw; use the methods that you are most comfortable with. Securing the wood block in a vise or with a clamp is recommended; this will make the job more efficient, less frustrating and safer.
Step 6
Drill or gouge out the eye sockets and nose hole. Securing the skull for these procedures is highly recommended.
Step 7
Refine the shape. Continue removing material using the most efficient method that your skills and toolbox allow; use carving tools and knives, or a Dremel, rasp file, and 40 or 60 grit sandpaper. Given sufficient time and patience the whole carving can be accomplished with a very sharp pocketknife. Hand tools will require periodic blade sharpening.
Step 8
Continue refining the shape until you are happy with the result.
Warning
Wood carving is dangerous. Take your time and carve safely.
Video of the Day