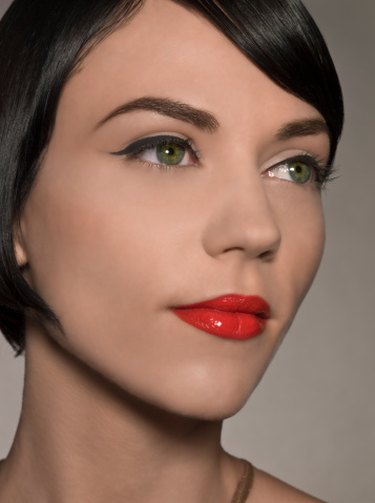
Magazines have been touching up photos of models and celebrities for years, making stars look thinner and prettier than they really are. Prior to computers and photo editing software, artists modified these photos by physically combining parts of several photos or doctoring photos with ink, paint or airbrushing. Today, advancements such as the Photoshop "Liquify" tool have made the photo editing process easier. Dragging a mouse a tiny bit can alter the shape of a person completely. Play with the many toolbar options in the "Liquify" window to get the hang of retouching your own photos.
Step 1
Open Photoshop, then click "File" and "Open" and navigate to the photo you want to modify.
Video of the Day
Step 2
Click "Ctrl" plus "J" (or "Cmd" plus "J" on a Mac) to make a copy of the background layer. Open the "Layers" palette, if it's not open already, double-click on the new layer's name and change it to "liquified_layer."
Step 3
Choose "Liquify" under the "Filter" drop-down menu. A new screen will open with tools on both sides. Leave most of your default settings alone, but change the brush size in the brush size field according to the size of the photo. If you have a full body photo of a person, you might select 100 pixels. Change the brush size quickly using the left or right bracket key for a smaller or bigger brush, respectively. Hold one of the bracket keys to have the brush continually shrink or grow, or click the key repeatedly to have the brush size change incrementally.
Step 4
Click "Ctrl" or "Cmd" and the "+" key to zoom in on a portion of the image using the same keyboard shortcuts that work in the normal user interface. Click "Ctrl" or "Cmd" and the "-" key to zoom out. Press the space bar to get the hand tool to move around the photo.
Step 5
Click the "Forward Warp Tool" (the icon is a finger pushing on a line) on the Filter tool bar. Click inside the edge of a body part, such as the upper arm, and move the cursor a little inward from the edge to make the arm get thinner. Click on the bottom of the nose, then drag the cursor upward slightly to make the nose smaller. Fluff up a hairstyle by grabbing the outer edge of the hair and dragging out. Or flatten the hair by dragging in from the edge.
Step 6
Drag on the corner of the mouth up or down to change the shape of the smile. Enter a brush size of 25 pixels in the brush size field on the Filter right tool bar while still clicked on the Forward Warp Tool. Drag the lips to change their shape without changing the shape of the whole mouth.
Step 7
Enter a brush size of 100 pixels in the brush size field while still clicked on the Forward Warp Tool. Place your cursor over each eye, and move each one out ever so slightly to widen the eyes on the face. Move the cheekbones up a little for a more defined cheekbone.
Step 8
Select the "Pucker" tool (the icon is a square indented in on all four sides) to shrink a feature. Place your cursor over the nose and click, and the nose will get smaller proportionally. Click "Alt" and the "Pucker" tool to reverse course and make the nose bigger. Select the "Bloat" tool (the icon is a square bloated on all four sides), then click on a feature to make it swell. Click "Alt" and "Bloat" to reverse course and shrink the feature.
Step 9
Play around with all the tools to modify the image to distraction, then click the "Reconstruct" tool on the left toolbar (the icon is a paintbrush) and paint across the image to restore the features to their original shape.
Video of the Day