Things You'll Need
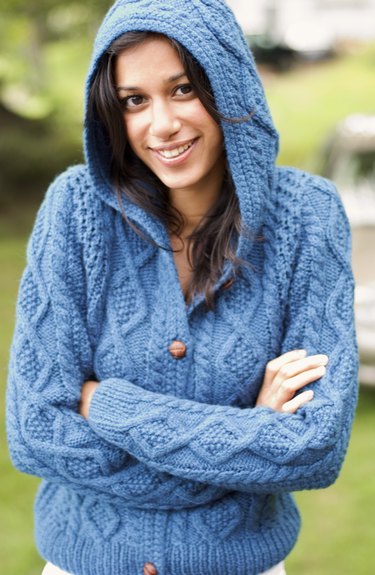
Sweater
Crochet hook
Double-pointed needles with plastic end caps or circular knitting needles
Yarn
Scissors
Blunt yarn needle
Ribbon or cord
Large safety pin
Stiff cardboard
Adding a knit hood to a favorite sweater for extra warmth or a change in style is almost as easy as knitting a blanket. The hardest part is picking up the stitches along the neckline of the sweater. The hood is then knit upward from the neckline in a flat piece and the top crocheted together. Wear the hood unadorned or add a pom-pom or other ornament to the pointed top for a little something extra.
Step 1
Pick up stitches around the neckline of the sweater. Push a crochet hook through the edge of the sweater fabric at the center front of the neck, and pull a loop of yarn through from the back of the neck fabric to the front. Slip the loop onto the end of a knitting needle. Continue this process around the top edge of the sweater neck until you return to the front. The exact number of stitches will depend upon the size of the yarn used, the size of the sweater and the stitch texture of the sweater.
Video of the Day
Step 2
Purl around the neck counterclockwise. When you reach the center front again, turn the work and knit back around the neck. When you reach the shoulder seam, knit two stitches, pick up one stitch from the previous row, knit two, and pick up another stitch. Add the increase stitches till you reach the other shoulder seam, then knit evenly to the center front. Turn the work, purl back across all stitches; turn the work, and knit back. Continue make knit and purl rows till the hood fabric extends 3 inches above the intended wearer's head.
Step 3
Divide the knitted stitches evenly between two needles. Place the knitted -- right -- sides together. Working from the folded edge with wrong side out, crochet the stitches together forming a seam down the middle of the top of the hood.
Step 4
Snip the thread when you reach the last loop, and pull the loose end through the loop. Work the loose thread end back through the stitches of the hood seam. Turn right side out. The seam should be on the inside of the hood.
Step 5
Pick up stitches around the face of the hood, using the same method used earlier to pick up stitches around the neck. Knit a 2-inch band of ribbing. Ribbed patterns are formed by knitting two stitches, then purling two stitches.
Step 6
Bind off on the last row by knitting two stitches together, then slipping the stitch back onto the holding needle, knitting it and the next stitch together when in the knit portion of the ribbed pattern, and purling two stitches together when in the purled portion of the pattern till all stitches are knit off the needles. Snip the last thread and pull it through the last loop. Work the loose thread back through the work.
Step 7
Fold the ribbed facing back from the face edge of the hood, and sew the edge to the knitted hood. Leave the ends open. Crochet a yarn chain or cut a length of ribbon or cord long enough to reach around the face opening twice. This will be the drawstring for the hood. Fasten a safety pin in one end of the drawstring, and work it through the hem formed by the ribbed facing.
Video of the Day