Things You'll Need
Fine-grit sandpaper
Tack cloth or soft cloth
Old plastic tablecloth
Paper for decoupage, such as tissue paper, clip art, magazine images
Scissors
Mod Podge
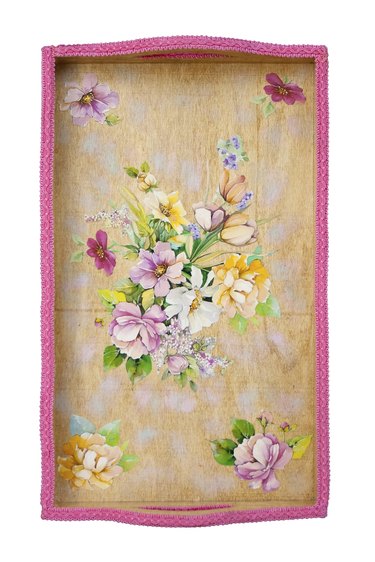
Mod Podge, a brand of decoupage medium, works like glue to adhere paper or fabric onto a project. Mod Podge may be used to decoupage paper onto wood in much the same way it works with paper-on-paper projects, but the wood surface must be smooth and free of dirt and debris for it to adhere well. Mod Podge also acts as a sealer atop your handcrafted creations, so it can be used to seal the decoupaged surface as well.
Step 1
Sand the areas of the wood you wish to decoupage using a fine-grit sandpaper. Wipe the dust away with a tack cloth or soft cloth.
Video of the Day
Step 2
Cover the work surface with an old plastic tablecloth and set the wood project piece atop the tablecloth. Plastic is a better covering than newspaper in this case, as dripped Mod Podge may adhere the newspaper to your project and it would be more difficult to tear the paper away successfully.
Step 3
Cut or tear pieces of paper to decoupage onto the wood. Arrange the pieces of paper on the wood project until you are happy with the layout.
Step 4
Apply a thin layer of Mod Podge to the back of the paper one piece at a time using a foam brush. Press and smooth the paper onto the wood in the desired area using your hands. If covering an entire area with one piece of paper, you may apply the Mod Podge to the wood surface instead, as if painting it. Press the paper onto the wood and smooth it down.
Step 5
Coat each piece of paper with Mod Podge, one at a time, and continue smoothing them onto the wood project in the desired location. If working with a curved piece of wood or over the edge of a flat surface, wrap the paper to follow the contour of the wood, smoothing it down in all areas.
Step 6
Apply a thin layer of Mod Podge over the entire decoupaged surface if you wish to seal it. Apply a second coat once the first dries for added durability.
Tip
To add a color background to your project, paint the wood with an acrylic paint first. Once it is completely dry, decoupage as you would on bare wood.
Protect the project with an outdoor polyurethane sealer if you intend to use it outdoors, such as a decorative bench for your patio.
Mod Podge offers a variety of formulas. Regular Mod Podge works well on wood.
Warning
The dye on some types of tissue paper bleeds when wet. If using tissue paper, test a spare piece by wetting it with decoupage medium and sitting it atop a plain piece of dry paper. If color transfers to the plain paper, the tissue paper bleeds, which will affect the color of your project.
Video of the Day