Things You'll Need
Garbage bag
2 paintbrushes
Surface primer
Acrylic craft paint
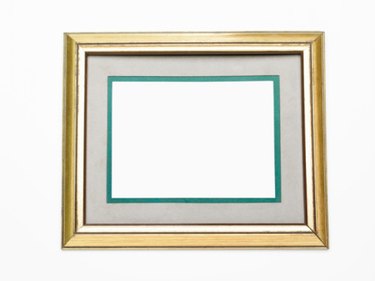
Picture mats serve a couple of different purposes in photography. First, they allow you to fit a smaller photo in a larger frame for display. Picture mats also give your photos, painting or drawings a professional look -- even if they weren't made by a professional. And mats can help to accent colors in the framed image or draw in other colors for contrast. If you don't like the color of your picture mat or you have a boring mat, jazz it up with some acrylic craft paint.
Step 1
Remove the mat from the picture frame if you haven't done so already. Place a garbage bag over your work space, and place the picture mat on top of the bag.
Video of the Day
Step 2
Dip a paintbrush into a surface primer. Brush the primer over the entire mat, but ensure that you don't over-apply the primer as it can leave dried lumps of primer on your mat. Allow 2 hours for the primer to dry completely. Add a second coat if the original mat color is a dark shade.
Step 3
Dip a second paintbrush into the acrylic craft paint. You can find hundreds of different acrylic craft paint colors at any arts and crafts store. Evenly coat the entire picture mat. Allow several hours for the craft paint to dry.
Step 4
Apply a second coat of paint to the mat to give it a more saturated look. Allow several hours for the paint to completely dry before matting an image and placing it into a frame.
Tip
If you'd like your mat to have a little luster or shine, brush on a coat of decoupage gloss finish to the mat before framing.
Video of the Day