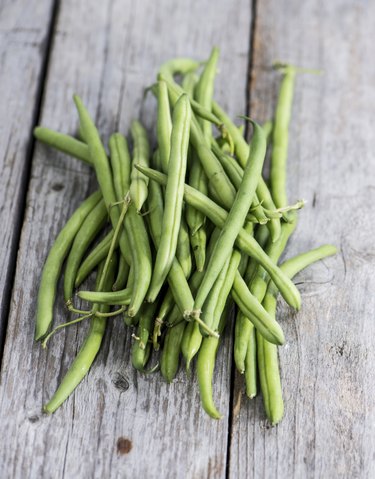
Although many people hesitate to use pressure cookers, they are essential for safely processing fresh green beans. With a pH level of 4.6, green beans are considered a low-acid food, and all low-acid foods must be processed at higher temperatures than can be achieved by water bath methods. A pressure cooker is required.
Canning is an excellent way to preserve fresh fruits and vegetables, but improper processing can cause sickness and even death. Home-canned vegetables are a leading cause of food-borne botulism, according to the National Institutes of Health.
Video of the Day
Video of the Day
If you don't have or don't want to use a pressure cooker, you can preserve green beans in other ways.
Step 1
Pickle the beans before canning them. A link to a recipe for pickled beans, which can be canned without a pressure cooker, is available in Resources.
Step 2
Freeze the green beans rather than canning them. A link to directions for freezing green beans is available in Resources.
Step 3
Dry the green beans. A link to directions for this old-fashioned technique is available in Resources.