Things You'll Need
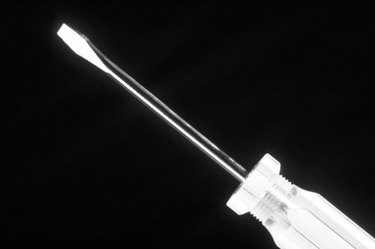
Flathead screwdriver
Tachometer
Pencil
Paper

Setting an Edelbrock carburetor to run efficiently is not a difficult thing to do. Learning how to set air mixture screws on Edelbrock carbs will give you the ability to adjust them like a pro. "Performer Series" and "Thunder Series" AVS carbs from Edelbrock are made with two idle-mixture screws that control air mixture during operation. Setting air mixture correctly allows the engine to run efficiently by burning fuel completely.
Step 1
Remove air cleaners that cover the carburetor. Loosen the wing nut that secures the air cleaner to the carburetor by hand. Disconnect vacuum hoses that are attached to the air cleaner at the air cleaner housing.
Step 2
Inspect the carburetor's linkage and choke. Be sure it was installed correctly and operates as intended. Replace the air cleaner, connect its vacuum hoses and secure it to the carburetor by hand with its wing nut.
Step 3
Warm the engine with five minutes of idling or driving. This brings the engine to the right temperature to perform air mixture adjustments. Place the vehicle in park, engage the parking brake, and exit the car with the engine running.
Step 4
Set the idle speed of the engine so the engine idles smoothly with an engine turning at 750 rpm to 1200 rpm. The idle-speed screw is located in the idle-speed port on the driver's side of the carburetor; toward the front. Turn the idle-speed screw with a flat-head screwdriver -- clockwise to increase idle speed and counterclockwise to decrease it.
Step 5
Write down the current rpm of the engine at idle. Move to the front of the engine to adjust the left idle-mixture screw with your flat-head screwdriver. Turning the screws in (clockwise) leans the mixture, and turning them out (counterclockwise) makes it richer. Your goal is to increase the rpm with this adjustment. Stop adjusting when the highest rpm is reached.
Step 6
Correct the idle speed with the idle-speed screw after you adjust idle mixture. It is located at the bottom left hand corner on the driver's side of the carburetor. Turn it with your screwdriver until engine rpm is where it was before adjusting the left idle-mixture screw.
Step 7
Insert the screwdriver into the idle-mixture screw on the right. Turn the idle-mixture screw to increase rpm. Increase rpm as high as it will go with this adjustment. Correct the engine idle again with the idle-speed screw.
Step 8
Adjust the idle-mixture screws again but this time decrease the idle of the engine with the left idle-mixture screw by 20 rpm before adjusting idle speed back to normal. Repeat the process with the right idle-mixture screw. You must correct engine idle back to normal with the idle-speed screw after each idle-mixture screw adjustment.
Tip
You can use a timing light equipped with a tachometer to read the engine rpm. This tool connects to the No. 1 spark plug wire and a power source, and it will tell you the speed of your engine during tuning operation.
Clean a dirty carburetor before starting. Use carb cleaner and a rag to wipe away fuel residue that builds up around air mixture and idle speed set screws.
Warning
Lean conditions occur when there is less fuel and more air than is optimal. This creates extra heat that can damage internal parts. Rich conditions occur when there is more fuel than air than is optimal in the mixture. This can result in fuel reaching the oil pan and decreasing the lubricating affect of oil. Either condition can cause damage when not corrected.