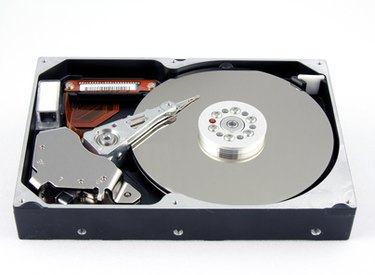
Since the release of Mac OS 10.3 "Panther" in 2003, Mac computers have had the ability to read the data on hard drives formatted with the Windows NTFS file system. Among other benefits, this makes it possible to transfer files over 4 GB from a PC to a Mac, which is not possible using a hard drive formatted with the FAT32 file system. Connect an NTFS-formatted hard drive to your Mac to read its contents from the Mac OS desktop.
Step 1
Connect the power cable to the external hard drive, then connect the other end to a power outlet. Many 2.5-inch external hard drives do not require power from an external source. If your hard drive has no power cable, skip this step.
Video of the Day
Step 2
Connect one end of the USB or FireWire cable to the back of the hard drive, and connect the other end to an open port on the computer. After a moment, a hard drive icon appears on the desktop indicating that the hard drive is mounted by the operating system and ready to use.
Step 3
Double click the new hard drive icon on the desktop. The contents of the external NTFS-formatted hard drive are displayed. Drag files from the hard drive to copy them to the local Mac hard drive, or double click them to read them directly from the hard drive.
Step 4
Drag the new hard drive icon to the Trash when you are finished using it. The Trash icon changes to an Eject icon. Release the mouse button to drop the hard drive on the Eject icon. This allows the hard drive to be safely disconnected from the computer.
Video of the Day