
Roses are one of the most common flowers associated with romance, and their depictions show up everywhere—from greeting cards to comic books. When sketching a rose, there are several little tricks that can make the task much simpler. All you have to do is practice, and soon you'll be able to draw a rose in a matter of moments.
Drawing a Rose From the Side
Video of the Day
Step 1
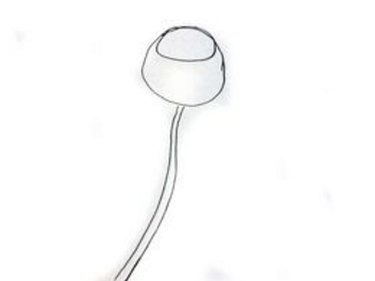
Lay out your rose in basic shapes. Draw a circle for the area where the flower petals will be. Draw an oblong along the top edge of that circle with the upper curve merging with the upper curve of the circle to show where the rim of the petals will be; this shows the angle that you'll be viewing the petals from. Draw a curved cylinder that begins at the base of the petals for the stem.
Video of the Day
Step 2
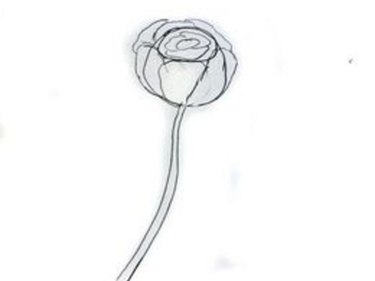
Outline the individual petals. Lightly draw out the petals, beginning with the outermost petal and moving inwards. The petals are layered, each one overlapping the one inside it, like an artfully folded napkin. There should be four layers or so from the outermost petal to the innermost petal. For an artistic flourish, add a slight curve outward on the outermost layer, showing that the rose is firmly opened. Also, along the bottom of the outermost petals, there may be hints of low, green overlap from the stem. This is optional, but it makes the rose more realistic.
Step 3

Outline the stem. The stem should be a collection of curved lines that line up to create texture. Add small thorns. They should look like slightly curved, canine teeth. Also add one leaf on both sides of the stem. The leaves should be narrow and curved, curling downward. For an extra touch of artistic flair, add dew dripping from the leaves.
Step 4

Erase the starting lines until only your details are left. Darken the lines and add shading to give the rose its third dimension.
Drawing a Bird's Eye View of a Rose
Step 1
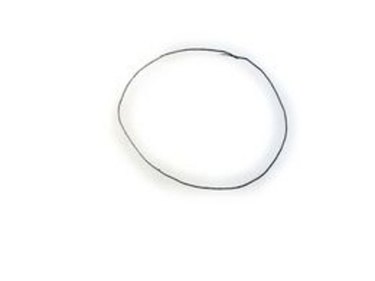
Draw a circle. This circle represents the petals as seen from above. It doesn't have to be perfectly round, since it's just a general guide. Add thin triangles coming off the sides of the circle to represent where the leaves will be visible beyond the petals.
Step 2
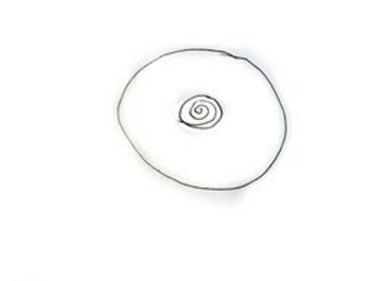
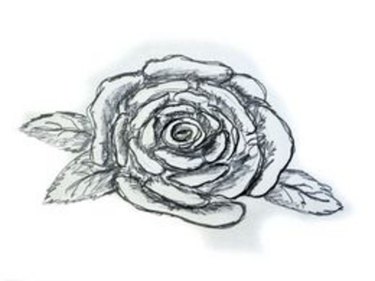
Draw a small circle in the center of your rose. Within that small circle, draw a spiral. This represents the close petals that protect the nectar. Draw three more circles moving outward until your rose looks like a bull's-eye. This is a guide for the overlapping layers of the rose petals.
Step 3

Detail the layers of the rose petals. The petals look like irregular-shaped blobs, and they should be grouped in increasing size on each circle. The outside of the first circle should have three blobs, but the others should have four. The outermost circle can have five, if you desire. These blobs should be wider at the outermost edges, drawing down to layer with the blobs next to it. Each successive outer layer will disappear beneath the inner layer, creating the multi-layered rose. Detail the leaves sticking out past the petals so that they look like leaves rather than triangles.
Step 4
Erase all of the pieces of the circles that you used as a guide. Darken up the lines for the details. Add shadows to give your rose a sense of the third dimension.
Tip
Keep examples of real roses (or at least photographs of them) nearby. These will help you get a better sense of the shape that you're trying to recreate with your rose.
Warning
Always sketch lightly so that your marks are easy to erase and less likely to smear throughout the drawing process.