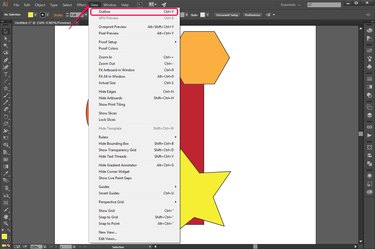
Illustrator provides three methods to switch between its default color preview mode and the alternative wireframe preview, or outline, mode -- each with a different result. The first method switches the contents of the entire document to outline mode, the second switches only a specific layer and the third switches all layers except those you specify.
Entire Document
Video of the Day
Step 1

Click "View" and select "Outline" to switch the entire document to outline mode. Alternatively, you can also use the "Ctrl-Y" keyboard shortcut. Note that if any layers are already in outline mode, the Outline option in the View menu won't be available and, instead, a Preview option displays. Selecting this option or pressing "Ctrl-Y" returns any layers that are in outline mode to color preview mode; only then does pressing the keyboard shortcut or selecting the menu option switch the entire document to outline mode.
Video of the Day
Step 2
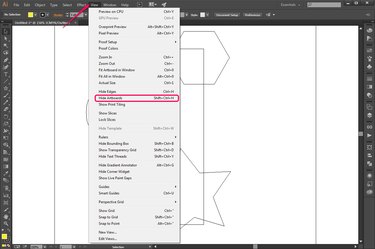
Click "View" and select "Hide Artboards," or press "Ctrl-Shift-H," to hide artboard boundaries. This step is optional but may be helpful -- in outline mode, artboard boundaries appear identical to paths, and may be distracting or confusing if your artwork is complex.
Step 3
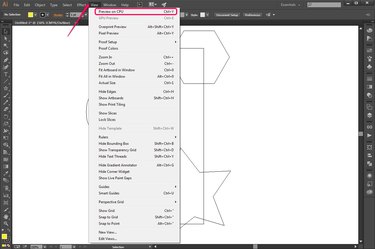
Click "View" and select "Preview," or press "Ctrl-Y," to return the document to color preview mode. This option may also be labeled "Preview on CPU," but it always appears as the first in the menu and is labeled with the "Ctrl-Y" keyboard shortcut. If you hid the artboards in the previous step, press "Ctrl-Shift-H" to display them again.
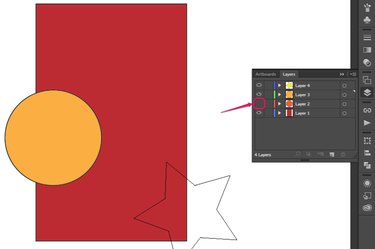
Individual Layers
Step 1
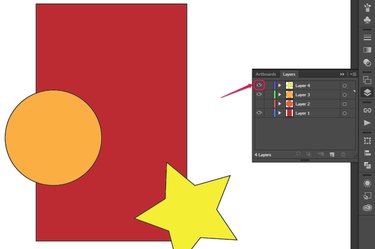
Hold "Ctrl" and click the eye icon beside a layer's name in the Layers pane to switch the contents of that layer to outline mode. While a layer is in outline mode, it displays a hollow eye as its icon instead of a normal one. The layer doesn't have to be selected for this to work; if you want to switch multiple layers to outline mode, repeat this process for each.
Step 2
Hold "Ctrl" and click the empty space beside a hidden layer's name to simultaneously make it visible and switch it to outline mode. Once you've done this, clicking the eye icon without holding "Ctrl" hides the layer again, but it remains in outline mode until you deliberately switch it back to color preview mode. If the layer was already in outline mode when you hid it, holding "Ctrl" and clicking it will simultaneously make it visible and switch it back to color preview mode.
Step 3

Hold "Ctrl" and click the hollow eye icon beside the name of a layer that is currently in outline mode to return it to color preview mode.
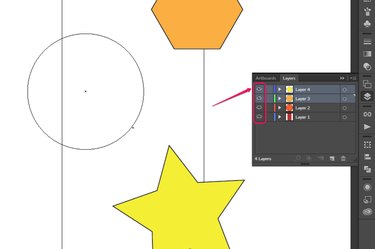
All Except for Specific Layers
Step 1
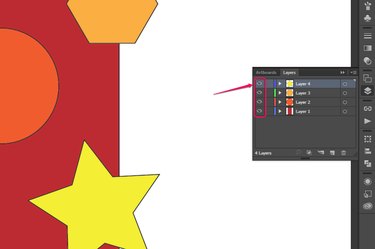
Hold down "Ctrl" and "Alt" and click the eye icon beside a layer's name to switch all other layers to outline mode. The layer doesn't have to be selected for this to work. If any layers are already in outline mode, the first click switches them all back to color preview mode; then click a second time to switch all but the layer you clicked to outline mode.
Step 2
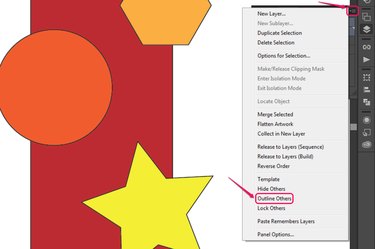
Select multiple layers, click the "Menu" button in the Layers pane and select "Outline Others" to switch all layers to outline mode except for those you selected.
Step 3
Hold down "Ctrl" and "Alt" and click the eye icon beside any of the layers to return all layers to color preview mode. You can also click the "Menu" button in the Layers pane and select "Preview All Layers" or simply press "Ctrl-Y."