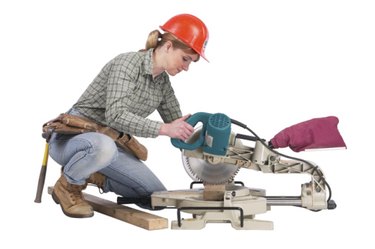
Twenty-two and one-half degree angles are commonly needed when installing molding or baseboard in your home. While most walls turn at a 90-degree angle, it is not uncommon to have walls that turn at a 45-degree angle in some rooms. To join two pieces of molding or baseboard at a 45-degree angle, you must cut each piece of wood at a 22.5 degree angle. To quickly and accurately make these cuts, use a miter saw or miter box.
Miter Box
Video of the Day
Step 1
Measure the piece of baseboard or molding and mark the location of the cut.
Video of the Day
Step 2
Place the baseboard or molding in the center of the miter box with the mark aligned with the 22.5-degree slots, which are the slots to the left and right of the 90-degree or straight slot.
Step 3
Tighten then clamps in the miter box to secure the molding or baseboard in position. Follow the instructions included with the miter box to properly use the clamps.
Step 4
Insert the handsaw into the 22.5-degree slots on the fences on both sides of the miter box.
Step 5
Use long and even strokes with the handsaw to cut the baseboard or molding at a 22.5-degree angle.
Miter Saw
Step 1
Measure the piece of baseboard or molding and mark the location of the cut.
Step 2
Pull the lever at the bottom of the miter saw out and move it left or right to rotate the entire saw. Use the guide on the bottom of the saw to set the saw to 22.5 degrees.
Step 3
Lower the blade down to the wood with your finger off of the trigger. Move the wood so that the blade falls slightly on the inside of the line.
Step 4
Position the baseboard or molding on the saw table and firmly hold it against the fence, ensuring that your fingers and other body parts are away from the saw blade.
Step 5
Engage the clamps on the miter saw, if your saw has them, following the operator's manual for the saw on how to hold the wood in place.
Step 6
Lower the blade so that it is a few inches above the wood, then squeeze the trigger. Slowly lower the saw down and through the wood. Release the trigger after it completely cuts through the wood.
Step 7
Raise the blade when it stops spinning.