Things You'll Need
Resistors (value varies with the system)
Wire nuts
Ohmmeter or multimeter
Resistor insulation
End of line resistors (EOLs) are very important for circuit and loop supervision. When you wire an alarm system, whether it is addressable or conventional, all wired devices -- as well as the loop or the conductors used in wiring -- must be supervised for operation and connectivity by the main panel through the EOL.There are two ways to wire EOLs: series and parallel. Both ways have their own usages and installation methods. The main thing to look for is the value of the EOL required by the user's manual that came with the board.
Step 1
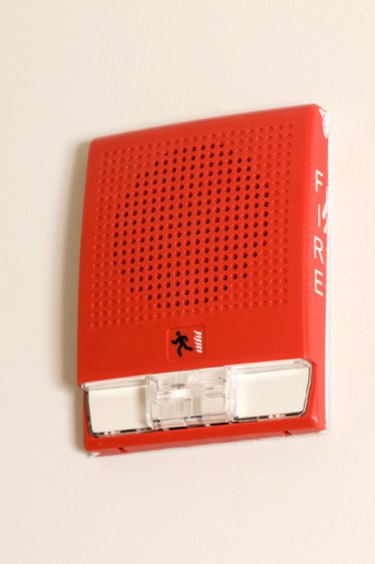
Determine the EOL for your system. Some lines end at the panel which means the resistor should be installed within the panel, and some end at the last device wired in a parallel connection. For example, fire alarm systems use the EOL resistor at the last device hooked up in parallel on each line. Resistors also must be used at the panel for all unused circuit lines.
Video of the Day
Step 2
Locate the "+" and "-". The plus and minus signs are used for power. Normally you will use a wire with four conductors, with different colors like white, green, red and black. Red and black are normally used for power with the red wire as positive and black wire as negative. The green and white wires are used for data and communication between the panel and the device. If resistors are needed at the end of the power line, they will be connected in parallel and be at least 1k. Consult the user's manuals for the correct value.
Step 3
Locate the "C," "NO" and "NC" markings on the alarm device. The "C" stands for common and is connected to the green wire of the four conductors. "NO" means "Normally Open" and is mostly used with burglar alarm systems and access control. The expression "normally open" describes a system that only locks when electricity is present in the circuit. Once there is an alarm the circuit closes and the alarm goes off. End of line resistors for those systems are installed here. Simply remove a half-inch of the white wire's insulation, attach one leg of the resistor to the white wire and tighten them snugly with a wire nut. Then insert the other leg under the terminal screw for the "NO" and tighten the screw.
Step 4
Attach the resistor to the "NC" screw and the "C" screw if a fire alarm system is used. The "NC" stands for "Normally Closed" and the resistor is connected in parallel. Remove a half-inch of the green wire's insulation and insert it under the terminal screw marked "NC". Insert one leg of the resistor under the same screw then tighten the screw on both the wire and the resistor leg. Make sure the screw is touching both the leg and the resistor.
Step 5
Insert the other leg of the resistor under the terminal screw marked "C" with the white wire and tighten the screw on both the wire and the resistor leg, making sure the screw touches both of them and is tightened on both of them. This method is called connecting the resistor in parallel. The same method is used with the power as well. One leg is inserted with the positive wire and the other is inserted with the negative wire. There is no concern that this will short the circuit as the resistors work as voltage regulators, directing the electrons safely from the negative terminals to the positive terminals and supervising the loop as well.
Video of the Day