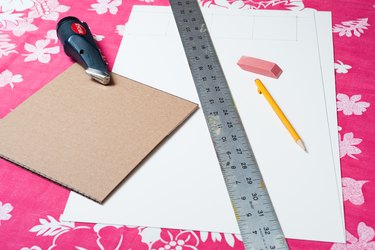
Things You'll Need
12- by 18-inch piece of cardboard
8- by 8-inch piece of cardboard
Compass
Yardstick
Pencil
Craft knife or scissors
Glue gun
Hot glue
Paper plate
Acrylic paint
Artist's paintbrushes
Water
Water container
LED tap light
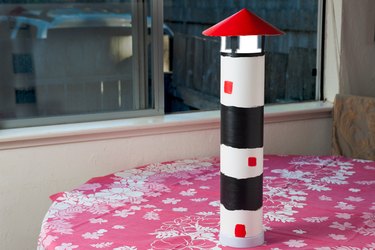
Lighthouses were first used in the 13th century by the Mayans. The Romans, Greeks, Egyptians and Phoenicians also utilized lighthouses to mark the way for sailors along their coastlines. The Egyptians built the tallest lighthouse during this time period, standing 900 feet tall. While fires and candles were used to light the way of ancient seaman, electricity creates the beacon in today's society. Most lighthouses are built in a cylindrical shape, but square-shaped lighthouses also are seen. Build a model lighthouse from cardboard using the cylindrical shape.
Step 1
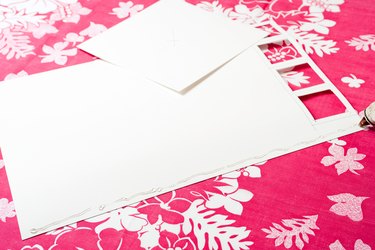
Place the 12- by 18-inch sheet of cardboard on a flat work surface so a 12-inch edge is along the bottom. Place a mark 1 inch in from the upper right hand corner of the rectangle. Line the edge of a yardstick up with the mark and with the bottom right hand corner of the cardboard. Draw a line connecting the two points. Draw four 2 1/4-inch squares evenly spaced across the top edge of the cardboard. Place the top of each 2 1/4-inch square 3/4 inches from the top edge (11-inch edge) of the cardboard. Cut along the drawn lines.
Video of the Day
Step 2
Squeeze a line of hot glue along the cut side of the cardboard. Roll the left side of the cardboard over the hot glue. Overlap the left side of the cardboard 1/2-inch and place the overlap along the glue line. Press into place. Add more hot glue under the flap if necessary. Stand the completed cylinder up so the small end is on top.
Step 3
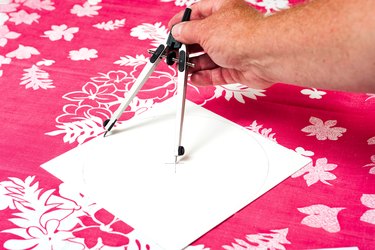
Position the point on the compass in the center of the 8- by 8-inch square piece of cardboard. Slightly push the compass point into the cardboard to mark the center of the circle. Draw an 8-inch circle. Cut out the 8-inch circle.
Step 4
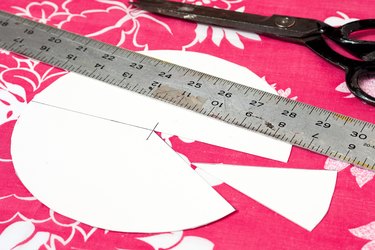
Position the edge of the yardstick on the center point making sure to extend the length of the yardstick off the edge of the circle. Draw a line along the edge of the ruler. Move the bottom edge of the yardstick 2 to 3 inches away from the first line. Keep the top edge of the yardstick on the center mark. Draw a line along the edge of the yardstick. Remove the yardstick and cut out the pie-shaped triangular piece from the circle.
Step 5

Squeeze a line of glue along one edge of the pie-shaped triangle. Place the opposite edge of the pie-shaped triangle over the line of glue making sure to overlap the cardboard by approximately 1/4-inch. This creates the roof to the lighthouse. Set aside with the point to the top.
Step 6
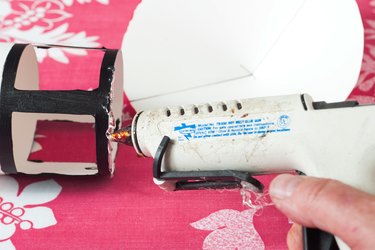
Squeeze a line of glue along the very top edge of the cylinder. Immediately center and place the roof of the lighthouse on the hot glue. Gently push to set in place.
Step 7
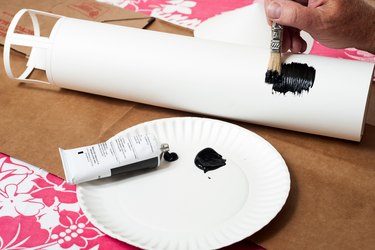
Squeeze a quarter size drop of paint on a paper plate. Paint the lighthouse the desired color. Make sure to paint an entrance at the bottom. Allow the paint to dry 15 minutes.
Step 8

Sit a LED tap light on a flat work surface. Turn on the LED light. Place the completed lighthouse over the tap light.
Video of the Day