Decorative separators can draw attention, define a style or create an attractive appearance in your documents. Learn how to add borders and customize separators to achieve the look you want in Microsoft Word 2013.
Separating Columns

To divide your document into columns, choose the Page Layout tab and open the Columns menu. Select the desired number or style of columns. One column is the default setting.
Video of the Day
Video of the Day
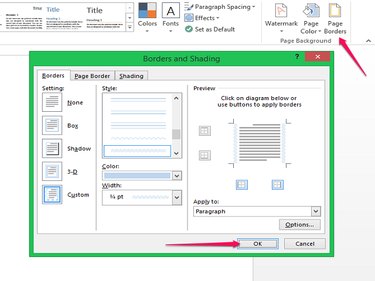
From the Design tab, click Page Borders. In the pop-up, the Borders tab applies to paragraphs. The default setting is none. Choose box, shadow, 3D or custom from Setting. Next, select a style.
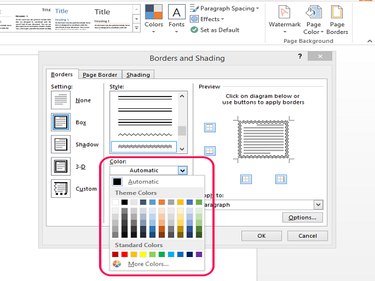
If you want a different color or width, click your selection. In the Preview pane, you can change the border to display on a specific side or a combination of sides. When finished, click OK.
Adding a Page Border

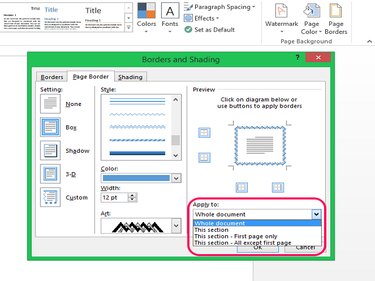
To add a decorative border around the margins of the entire page, select the Page Border tab in the pop-up. Choose how you want your border to look. In addition to the same options from the Borders tab, the page border also offers an Art selection. The choices in the Art menu are more detailed than the choices in the style menu, and the two can be used together or alone. You can apply page borders to the entire document or specific sections. When finished, click OK.
Adding Content
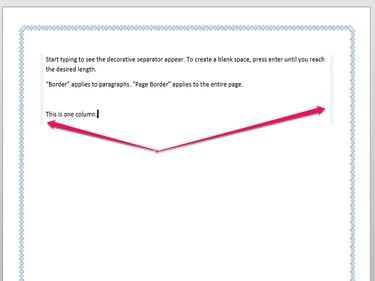
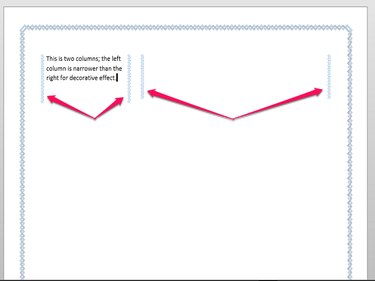
The page border is applied to the document and automatically appears when you click OK. The borders around the paragraphs appear as you add text or other content. To see the paragraph separators, begin typing. The separator appears as you type. If you haven't used more than one column, the separator appears nearer the margins.
Horizontal Separators
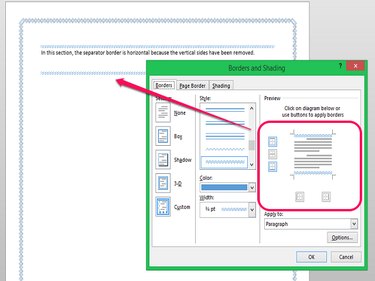
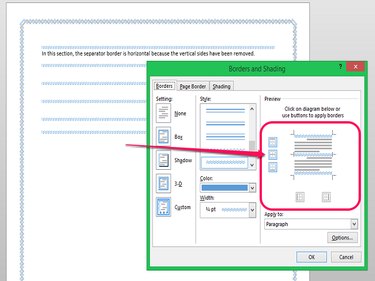
Horizontal separators are added in the same manner. In the preview pane, remove the vertical borders to create a horizontal separator at the top, bottom or both of each column.
To create a separator each time you press enter, start typing and then click Page Border again. In the pop-up, select the Border tab. A new option appears to add a separator after each paragraph. Choose the option and click OK to apply.