The Gardner-Bender Hi-Vis voltage tester is an easy-to-use instrument that allows testing for the presence of AC current. The "Hi-Vis" in the name refers to the two large lights on the tool, indicating the presence of 120- or 240-volt current. Invaluable for checking outlets, lighting fixtures and other AC wiring prior to working on them, the tester provides an unmistakeable visual indication of dangerous voltage. The product is small enough to keep in your pocket, and allows for testing between 100 and 300 volts, using dual-indicator lighting.
Step 1
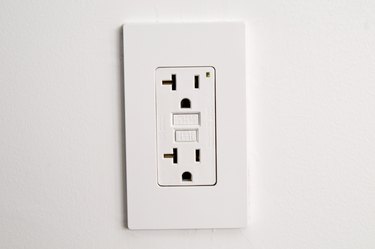
Locate the outlet or other AC circuit you wish to test. Snap the probes onto the two clips underneath the tool.
Video of the Day
Step 2
Slide the probes into the AC outlet. Observe the behavior of the tool's lights. If the upper light illuminates, the outlet is receiving and supplying 120 volts. The lower light indicates 240 volts AC.
Step 3
Unsnap the probes to check wires spread too far apart to be reached from standard outlet spacing. Hold the insulated portion of each probe, with the red wire touching the black hot wire in the wall's circuit. Touch the black probe to the white return lead. Observe the lights on the tool to determine the presence or voltage on the line.
Warning
Never grab the probes by the metal when testing a circuit. You could be electrocuted.
Video of the Day