Things You'll Need
Measuring tape
Rotary mat and cutter
Chalk
Scissors
Ribbon
Hot glue gun
Needle and thread
Fabric glue

A hooded cape is essential for a Little Red Riding Hood costume, as well as for and certain goth and period ensembles. Unfortunately, it can be difficult to find a suitable hooded cape in clothing and costume stores. By using a bit of fleece or another warm, fray-proof fabric such as flannel, you can make your own DIY cape in less than an hour, with little or no sewing required.
Measure Your Child for the DIY Cape

Measure from your shoulders to two inches above the ground. Using sharp scissors or a rotary mat and cutter, cut a square of fleece twice as long and twice as wide as this measurement.
Video of the Day
Fold and Draw a Chalk Line
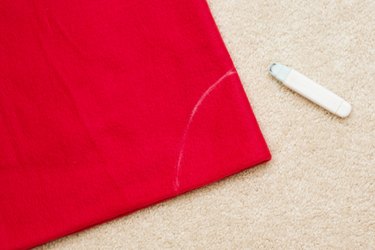
Fold the square into four equal sections to make your DIY cape. Use chalk to mark the corner at the center of the original large square. Draw a curved chalk line connecting the two corners next to the center corner, rounding off the corner opposite the center corner.
Video of the Day
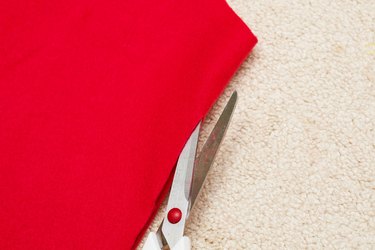
Cut Along the Chalk Line
Cut off the material along this chalk marking. You should now have one rounded edge and two straight edges converging at the center corner.
Cut Straight Through
Cut through one of the straight folded edges up to the center corner. Cut only one of the folds, not both.
Trim Off a Piece of the Circle
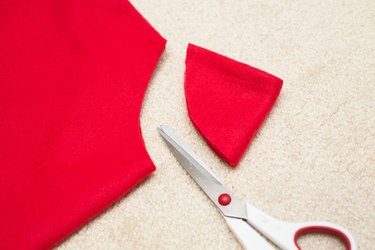
Cut off a small quarter circle at the center corner.
Open the Fleece Circle

Open up the fleece. You should have a large circle with a smaller hole in the center for the neck and one line going from the neck hole to the outside of the large circle.
Drape the Cape to Check the Fit

Drape the cape over your shoulders to check the fit.
Trim Off Excess Material From the Neck or Length
Use scissors to remove extra fabric from the bottom of the cape or the neck hole, if necessary.
Sew or Glue on the Ribbon Ties
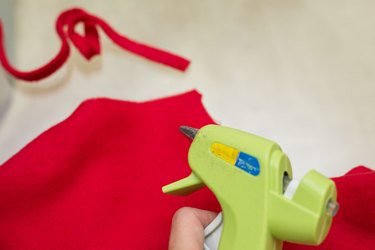
Hot glue or sew ribbon on each side of the opening next to the neck to make a tie for the cape.
Measure and Cut Another Piece of Fleece

Cut a second piece of fleece measuring 10 by 28 inches for a child or 15 by 42 inches for an adult.
Fold the Fabric in Half
Fold the fabric widthwise to make it 10 by 14 inches (or 15 by 21 inches for an adult).
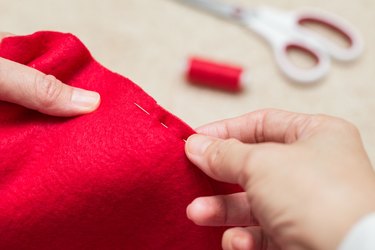
Stitch or Glue the Edges
Sew one of the long sides or glue the edges together to make a seam.
Check the Hood for Fit
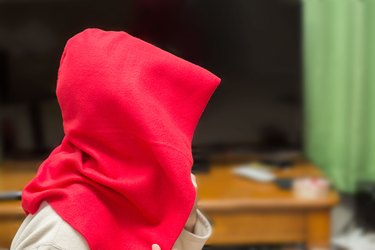
Place the hood over your head with the folded part on top and the seam running down the back.
Trim Off Excess Material
Cut off any excess fabric, if necessary.
Affix the Hood to the Cape
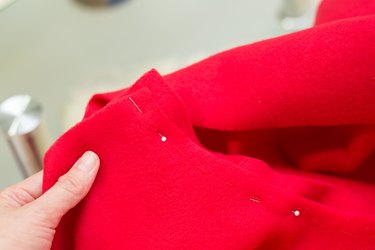
Attach the back end of the hood to the top edge of the cape with fabric glue, or stitch it in place with needle and thread to finish your DIY cape.