Things You'll Need
Paper
Pencil
Ruler
Scissors

The next time your kids complain of boredom or you need to find them a project to dispel the gloom of a rainy day, this is one great way to do it. It does not matter whether you decide to make trees for Christmas decorations or a paper forest to surround a model village, the main thing is to stay busy and have fun. So grab some paper and scissors and get started!
Step 1
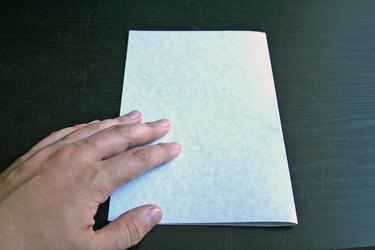
Fold a sheet of heavy letter sized construction paper or card-stock in half so that it measures 5-1/2 inches by 8-1/2 inches.
Video of the Day
Step 2
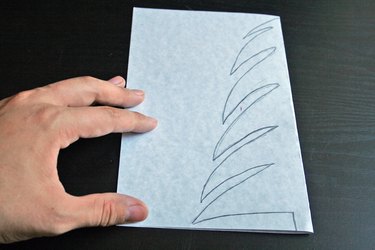
Draw the outline of half a tree (from trunk to tree top) on one side, with the center-line of your tree corresponding to the fold in the paper. (It can be any sort of tree you like, but an evergreen with low branches wider than top branches will stand up better without toppling.)
Step 3
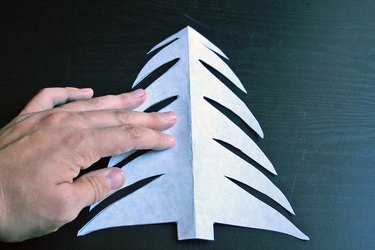
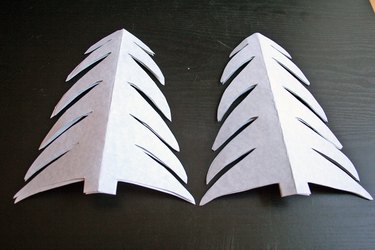
Keep the paper folded and cut out the tree along the line just drawn. Open the fold to reveal a symmetrical tree.
Step 4
Use that as a pattern to draw and cut some more tree shapes exactly like the first. When you have at least four (but preferably several—the more you make the more 3-D the tree will be) proceed to the next step.
Step 5
Lay all the tree shapes flat on the table, one atop the others in two stacks. (You must have the same number in each of the two stacks.)
Step 6
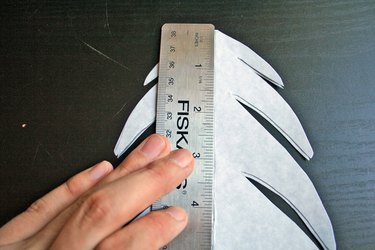
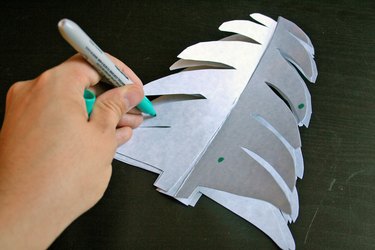
Measure and draw a line from the top of the tree down 4-1/4 inches on each paper tree shape in one stack.
Step 7
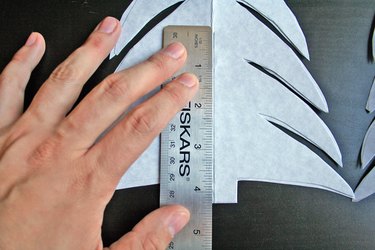
Measure and draw a line from the bottom of the tree up 4-1/4 inches on each paper tree shape in the other stack.
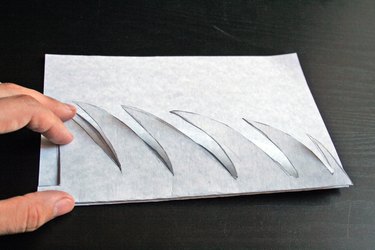
Step 8
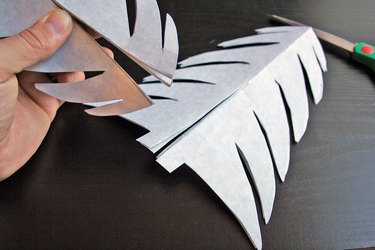
Cut each tree along the line drawn. If the paper is thick, or you have made many trees, you will need to cut a second line precisely parallel to the first, and as wide as the stack of shapes is tall. (Press one stack down slightly to measure—it should not be above ¼ inch or you have too many tree shapes. Save extras for other trees.)
Step 9
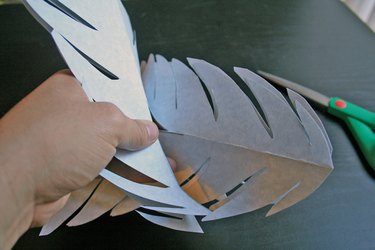
Assemble the tree by sliding the tree shapes with a bottom slit over those with a top slit. When you have them all stuck together, fan them open and arrange until they are uniformly separated.
Step 10
Decorate them as desired.
Tip
If you are making Christmas trees, use the handy template from All Free Printables to print tree shapes already covered with pretty ornaments; (See References) or borrow the idea and paint on or glue on sequins, beads, etc. before assembling, for a dazzling display of miniature Christmas trees.
Video of the Day