The Rust-Oleum Specialty Tub & Tile Refinishing Kit is a two-part epoxy acrylic finish that, when applied to your existing tub's finish, creates a hard coating with the look of porcelain or ceramic. The mixture is available in three colors — white, almond and biscuit — that you can use to refinish ceramic, porcelain, acrylic, cast iron and fiberglass tubs alike.
There's a bit of preparation necessary before application, but after you complete the prep work, the new finish goes on like a coat of paint. Allow the coating to dry, and you're left with a hard finish that will last for years while refreshing the appearance of your old bathtub.
Video of the Day
Video of the Day
Remove Rust and Degrease the Surface
Before you even consider refinishing your bathtub, make sure it has only surface rust. If the rust has invaded the surface and has eaten through the metal, even partially, the paint won't have any effect on the corrosion or structural integrity of the tub.
Remove the loose rust before you start. This is important; otherwise, the paint will simply blister and peel off. Remove any hardware, then use a wire brush or sandpaper to scrape off the rust. Once the rust is removed, be sure to degrease the surface. Bob Vila recommends a homemade solution of 4 teaspoons of liquid soap mixed with 1 gallon of warm water.
How to Refinish a Bathtub
Step 1: Take Safety Precautions
Open all of the windows and doors to the bathroom to increase ventilation. The fumes from the Rust-Oleum Specialty Tub & Tile Kit can be hazardous if inhaled for any length of time. Put on a respirator and rubber gloves to avoid both inhalation of fumes and skin contact with the chemicals used in the refinishing process.
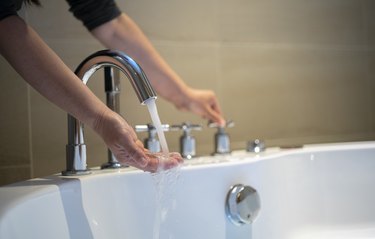
Step 2: Turn Off the Water Supply
Cut off the supply of water to the tub from the supply valve, which is located behind the bathtub's access panel.
Step 3: Remove Drain and Fixtures
Remove the metal drain from the tub by removing the screws from the cover plate and then lifting the plate from the tub. Remove any tub fixtures, using a screwdriver to remove the screws that secure the fixtures in place and then pulling the fixtures from the tub.
Step 4: Remove Caulk, Clean and Sand
Cut out the caulk surrounding the tub, using a utility knife, and wipe away the residue with isopropyl alcohol. Remove any mildew by washing it away with a mixture of equal parts bleach and water. Clean the tub surface, interior and exterior with an abrasive bathroom cleanser and an abrasive pad.
Remove all dirt and soap scum from the bathtub's surface with the cleanser and then rinse the tub thoroughly. Sand the surface of the tub with No. 400 wet/dry sandpaper to create a textured surface, and then rinse again. Allow 90 minutes of drying time after preparation.
Step 5: Mix the Activator and Base
Stir the activator and base that came with the kit, using the wooden stir stick, and then mix the two substances. Pour the activator into the base can and stir them together thoroughly. Use a mixing ratio of four parts base to one part activator if the entire kit is not needed, mixing the two in separate paint containers.
Step 6: Apply Mixture to Tub Surface
Apply the mixture to the surface of the tub, using a fine-bristle varnish brush. Brush in even, layered rows, moving in one direction only, taking care not to miss any spots on the bathtub surface and feathering the edges of each row to prevent ridges from developing on the overlaps.
Step 7: Apply Two Coats
Cover the tub with two coatings of the finish. Wait an hour between coats. Allow the coating to dry for 72 hours before you put any water in the tub.
Step 8: Replace Drain, Fixtures and Caulk
Replace the drain and fixtures, and then replace the caulk along the tile edge to prevent water seepage into the walls and floors. Smooth the caulk with moist fingertips, and wait 24 hours for the caulk to dry before using the newly refinished tub.