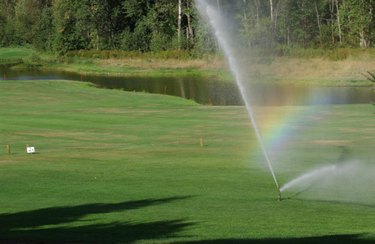
The Rain Bird 22SA rotary nozzle sprinkler is installed, hidden underground and rises up to water the lawn when activated by a timer. The 22SA features a spray range of 17 to 24 feet and comes in three different models and spray patterns: the 22SA-F, 22SA-H and 22SA-Q. The 22SA emits multiple rotating streams for even water distribution and can withstand a range of water pressure. When mapping out your irrigation system, you'll need to know how to adjust the sprinklers to fit the dimensions of your lawn.
Step 1
Insert a flathead screwdriver into the radius reduction screw on the top-center of the spray head and twist it clockwise to reduce the radius or throw by 25 percent. This reduction doesn't affect the amount of water flowing through the spray head.
Video of the Day
Step 2
Insert the screwdriver into the radius reduction screw and twist it counterclockwise to restore the throw or radius to its full capacity. The 22SA rotary deflector, located just below the spray head, is colored yellow to indicate a throw of 17 to 24 feet, whereas a black deflector color indicates a 13 to 18-foot throw and is uncharacteristic of the 22SA.
Step 3
Install one of the three 22SA models into corresponding areas of your lawn. The 22SA comes in three different spray ranges: the 22SA-F rotor, which is marked with a blue radius adjustment slot and emits a full-circle spray pattern; the 22SA-H rotor, which is marked with an orange radius adjustment slot and emits a half-circle spray pattern and the 22SA-Q rotor, which is marked with a yellow radius adjustment slot and emits a quarter-circle spray pattern. Install the 22SA-Q into areas such as corners. Install 22SA-H rotors against flat walls, such as the side of the house or fence. Install 22SA-F rotors in the center of the watering area, where the area surrounding the sprinkler is all grass or foliage.
Step 4
Grasp the stem while the water is circulating and twist the spray head direction toward the desired watering area after the sprinkler is installed. If the model is a 22SA-H or a 22SA-Q, twist the spray away from walls or pavement and align the spray pattern with the watering area.
Tip
The grooves below the spray head also indicate the spray range of the 22SA with a printed “F” for full, an “H” for half and a “Q” for quarter.
Video of the Day