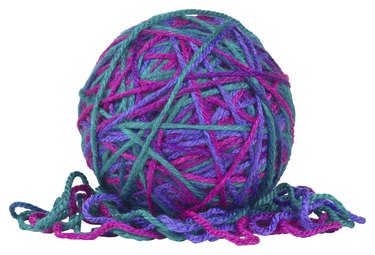
Things You'll Need
Ball of yarn
Scissors
Finger knitting is a way to produce knitting stitches for projects with the tools you always have with you -- your fingers. Kids can learn to knit with this method and it gives them a fast, fun way to be introduced to the craft. A rainy day and a ball of yarn can transform boredom to a warm, fuzzy project they have knit themselves, literally by hand. Once you create a string of finger knit stitches, a few more steps to sew them together and you can produce wearable items, like a hat.
Step 1
Lay the tail end of yarn from the ball between your thumb and index finger, pinching them together to hold the yarn in place. Leave the yarn on the ball intact, do not cut it, you will finger knit directly from the ball in a continuous stitch just as for regular knitting.
Video of the Day
Step 2
Weave the yarn in and out through the fingers on your hand, over one, under the next. Do this across until you reach the pinkie, then loop the yarn around your pinkie once.
Step 3
Weave back across in the opposite pattern. For example if you weaved the yarn beneath your ring finger, the yarn goes over it this time.
Step 4
Trap the end of the yarn between your thumb and index finger again. Now grasp the short tail you had held there in the first step and bring it over between your index and middle finger. This step is only performed once, in the first row, to trap the end of the yarn.
Step 5
Weave the yarn across your fingers one more time, trapping it between your ring finger and pinkie. Lift the bottom loop on your pinkie finger and pull it up over the other loops, then lay it behind your finger. Repeat this across. You will have two loops left on each finger. Your first row is created and the beginning end of the yarn is incorporated and should be trailing behind your hand.
Step 6
Add another row of yarn to your fingers and pull up the bottom loop on each finger, leaving it on the backside of each finger. Pull the second row of loops up over each finger. With one loop on each finger left, again weave yarn across, then pull up each bottom loop. Continue in this manner until your chain reaches about 12 inches long. Leave one loop on each finger and don't add another row.
Step 7
Cut the yarn from the ball leaving a tail around 10 inches long. Take the end of the yarn and push it through the loop on the finger nearest the end. Pull the loop off your finger and repeat for each finger across. Tie off the tail end at the last loop.
Step 8
Fold the knit piece over itself so it is doubled. Orient the fold to the top an the open ends to the bottom and lay on your table.
Step 9
Cut a length of new yarn and tie off with a simple knot to the bottom, right corner, top or bottom doesn't matter.
Step 10
Weave the yarn through one side of the two pieces, in and out, binding the edges together. When you reach the end, tie off the yarn then weave it back through the sides again to conceal the tail.
Step 11
Cut another length of yarn 6 inches long. Weave the two bottom edges together as you did the sides. Weave in and tie off all the ends to conceal them.
Step 12
Open the hat and spread it with your fingers, adjusting the tension of the stitches and making it more dome-shaped until the hat shape is satisfactory.
Video of the Day