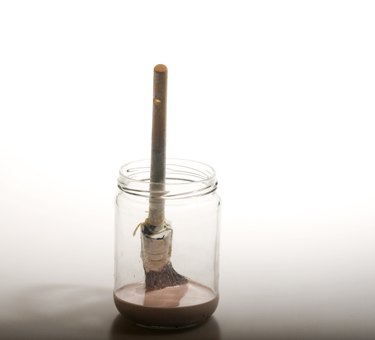
Dining tables often have an oil-based polyurethane finish. The hard, mostly clear topcoat protects the stain and wood underneath. Over time, this finish starts to dull, and damaged areas and water rings further reduce the surface's shine. A thorough cleaning, careful repairs and calculated polishing restore most tables. But in some cases, the finish becomes too worn and old, and the only way to restore the dining room table's shine is to apply a new protective topcoat.
Cleaning and Repairing Damage
Video of the Day
Step 1
Remove layers of buildup caused by furniture polish and waxes, using mineral spirits or turpentine. Put on gloves; wet a rag with the product and buff it into the table. Take care not to oversaturate the wood.
Video of the Day
Step 2
Place a clean, folded towel over any water marks. Heat your iron to the lowest setting and gently press it onto the towel, keeping it in place for five to 10 seconds. Lift the iron and the towel, and repeat the process until the marks disappear. If this method doesn't work, wet a rag with denatured alcohol and lightly buff the water rings until they vanish.
Step 3
Repair dents and scratches as needed. Use a felt-tip furniture pen for very light scratches and a wax stick for deeper gouges, matching the products to the stain color on the table. Only apply these products to the damaged portions according to manufacturer directions, leaving the surrounding areas untouched.
Step 4
Buff boiled linseed oil into the tabletop while wearing gloves for a smooth, shiny finish. You can also use automotive rubbing compound as a slightly abrasive furniture polish to eliminate minor scuff marks and shine up the surface.
Restoring Shine With Fresh Polyurethane
Step 1
Sand the entire table in three stages, starting with 100-grit sandpaper and working your way up to 150-grit and 220-grit sandpaper. A power sander makes quick work of this, but it's not necessary to remove all the existing stain on the table. You're looking to create a smooth, flat surface and scuff up the glossy topcoat to create a solid base for the new topcoat.
Step 2
Mix a can of clear, glossy oil-based polyurethane thoroughly. Pour some of the product into a plastic dish and cut it with mineral spirits at a ratio of 2 parts poly to 1 part mineral spirits. Keep the rest of the polyurethane separate. This initial mixture creates a thin seal on the wood, protecting it from damage in the future and giving you the smoothest, glossiest finish.
Step 3
Dip a 2-inch paintbrush into the sealing mixture and apply a thin, even coat to the entire table, overlapping the brushstrokes lightly. Allow the polyurethane to dry for four to six hours.
Step 4
Stir the can of polyurethane thoroughly. Apply a thin, even coat to the table, dipping the brush directly in the can. Wait for the finish to dry for 24 hours and apply a final coat of straight polyurethane. Let this dry for another 24 hours.
Step 5
Inspect your work. Scrape drips and bubbles off carefully with a razor blade. Wet ultra-fine 400-grit sandpaper with cool water and gently sand the entire table to smooth the polyurethane. Several light passes with frequent rewetting is all that's necessary. Wipe the table down with a tack cloth. Let the finish cure for three to four days. Finish with automotive polishing compound buffed into the table with a clean rag to increase the shine.