ryabuhanazar/iStock/Getty Images
Men's button down shirts can easily be transformed into shirts tailored to fit a woman's body. This not only can save you hundreds of dollars each year, but shirts that may have been overlooked due to their shape and size can be transformed into feminine blouses that are perfect to wear to work or a party. With a little patience, those thrift store finds can be turned into fitted button down shirts that fit perfectly the contours of your body.
Narrowing The Shoulders
Put the shirt on. With your tailor's chalk, in a contrasting color to your shirt, mark the end of your shoulder. This will be where your new shoulder seam will start.
Following the line of the original armhole seam, draw a curved line from your new shoulder seam to underneath the armpit of your shirt.
Fold your shirt in half at the center and cut along the curved line you just created, so that you are cutting both sleeves at the same time.
Turn the shirt and sleeves inside out and pin the sleeves back onto the shirt, leaving one half inch seam allowance. There will be a small hole at the armpit of the shirt because of the difference in size between holes of the sleeve and bodice. This will be corrected later. Try to keep the hole as small as possible.

Jupiterimages/Photos.com/Getty Images
Right sides together, sew your new armhole seam using a straight stitch, leaving one half inch seam allowance.
Removing Pockets and Adding Darts
To add shape to your shirt, you will need to add darts. Remove pockets by using the seam ripper to unpick stitches. Turn the shirt inside out and put it on.
With your chalk, mark a diagonal line extending from under the bust towards the side of the shirt. The highest part of the line should start under the bust, sloping at roughly a 45 degree angle.
Remove the shirt. Using a ruler, clean up the dart line you have created, making sure the line extends all the way to the side seam of the shirt.
Fold shirt in half so that the chalk marks transfer onto the opposite side of the shirt. Again, using ruler and chalk, clean up the line and mark it clearly.
Jupiterimages/Photos.com/Getty Images
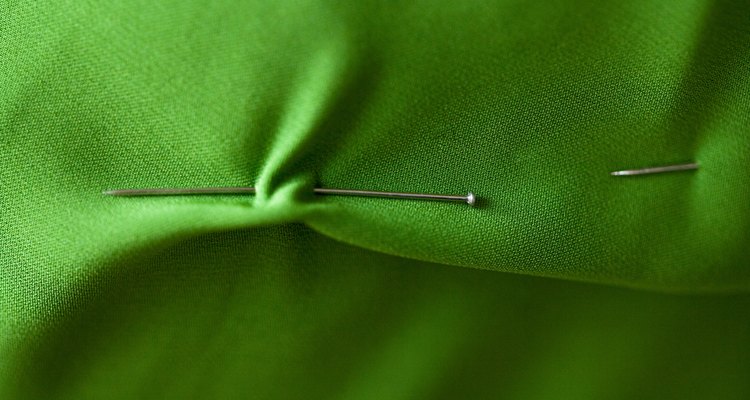
Pin the darts. Using a straight stitch, sew in place. The dart should roughly be 2cm at its widest.
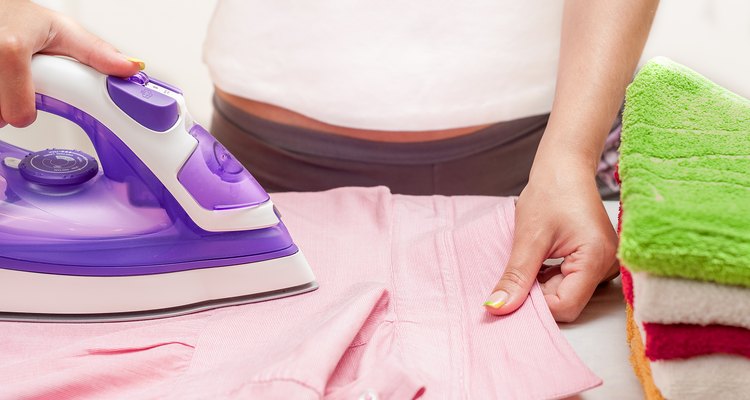
Cut off excess material from dart line with pinking shears. Press the seams open.
Narrowing The Bodice And Sleeves
Put the shirt on inside out. Mark where your new armpit should be, as well as your waistline.
Remove the shirt. Draw a line with the chalk from the armpit to the cuff. This will be your new arm seam.
From the armpit, draw a slightly curved line (coming in at the waist) to the hem of your shirt. This will be your new side seam. Repeat for both sides of the shirt.
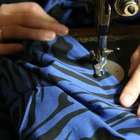
Using a straight stitch, sew along the chalk lines, forming your new arm and side seams.
Sew a zig zag stitch one half inch beside the straight stitch on the outside of the shirt to prevent fraying. Cut off excess material.
The shirt is now ready to wear.
Related Articles

How to Cut a T-Shirt Into a Tank Top ...
How to Sew a Gusset on a Sleeve

How to Make a Hooded Sweatshirt Larger ...
How to Use a Sewing Machine to Make a ...

How to Alter the Neck Lines on a Sweater

How to Make a Muscle Shirt Out of a ...
How to Cut a Football Jersey for a Girl

Turning a Shirt Into a Tank Top for Men

How to Narrow Wide Pants

How to Turn a T-Shirt Into a Muscle ...

How to Replace Shirt Buttons With Cuff ...

How to Fix a Fraying Cuff on a Work ...

How to Get Beet Juice Out of a White ...

How to Make Tank Tops Out of T-Shirts

How to Add Decorative Fabric to a Shirt ...

Adding Cap Sleeves onto a Wedding Gown ...

How to Fold a Dress Shirt to Avoid ...

How to Lengthen Dress Pants

How to Make a Drape-Front Top

How to Make Darts in Shirts
References
Writer Bio
Regina Olsen holds a Master of Arts in journalism. She has written for many publications, including Textile View magazine. Olsen has also ghostwritten a book about Chinese fashion, published in 2009.
Photo Credits
ryabuhanazar/iStock/Getty Images