
Acrylic Vs. Silicone Caulk

Table of Contents
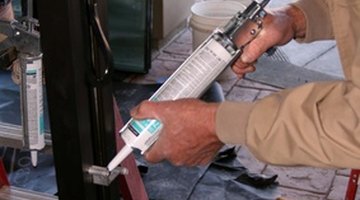
Caulking is a waterproof material used to seal seams between various areas, including windows and bathtubs. There are many different types of caulking, including acrylic and silicone.
Timeline
Silicone caulking lasts longer than acrylic caulking because it is not water-based. Over time, water evaporates out of acrylic caulking and this can lead to crumbling.
Temperature
Acrylic is more delicate than silicone caulking with regards to temperature, and is more prone to cracking in the cold. In extreme heat, acrylic caulking can actually "bake" and become brittle.
Applications
Silicone caulking bonds well to metal and glass and works well in areas with temperature fluctuations, like kitchens and bathrooms. Acrylic caulking is not suited to outdoor use because it can't handle extreme cold.
Together
Acrylic caulking with silicone added is a product that combines the qualities of acrylic caulking with the added strength, durability and adhesion that silicone caulking offers. Acrylic may also be blended with latex along with silicone.
Issues
Silicone caulk has an extremely offensive odor that can make it difficult to apply in unventilated areas. Acrylic caulking does not have a strong odor, but is less flexible than silicone.
References
Resources
Photo Credits
- glazier image by Greg Pickens from Fotolia.com
- glazier image by Greg Pickens from Fotolia.com
More Articles