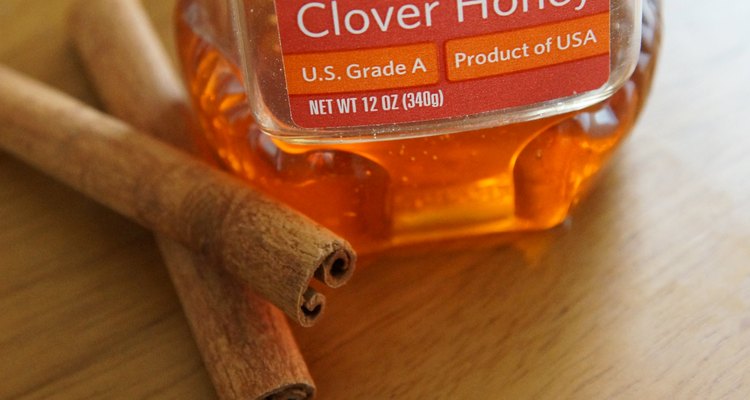
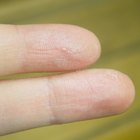
Skin irritations, such as skin itching, is a common dermatological complaint. When your skin itches, the tendency is to keep scratching it. This can cause your irritated skin to become red and injured from your nails, which can eventually lead to skin rashes. Skin irritations can be treated at home. You can use many over-the-counter remedies. However, these products contain harsh chemicals that can further irritate your skin. Fortunately, you can use natural ingredients such as cinnamon and honey. These two ingredients contain soothing and antiseptic properties that you can use to help relieve skin irritations.
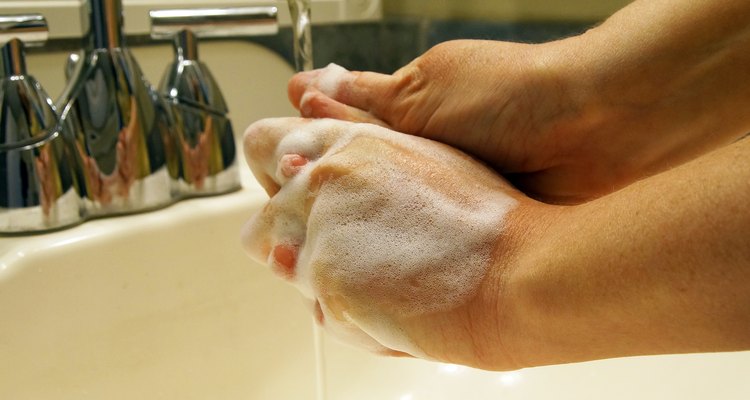
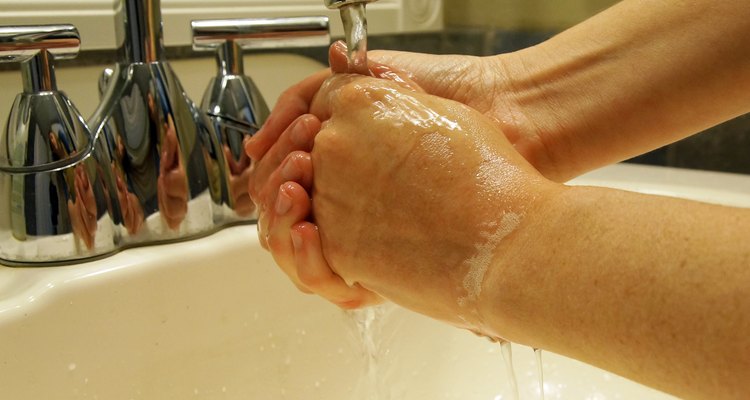
Take a shower or wash the affected skin with warm water and an antibacterial soap. Avoid scrubbing your skin to prevent further infection. Pat your skin dry with a clean towel after cleaning your skin.
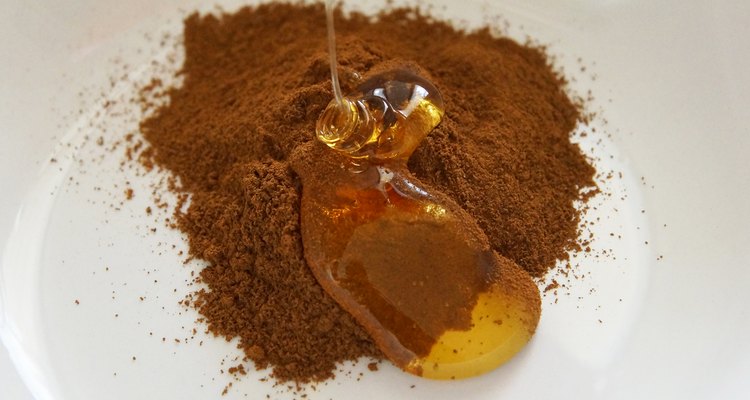
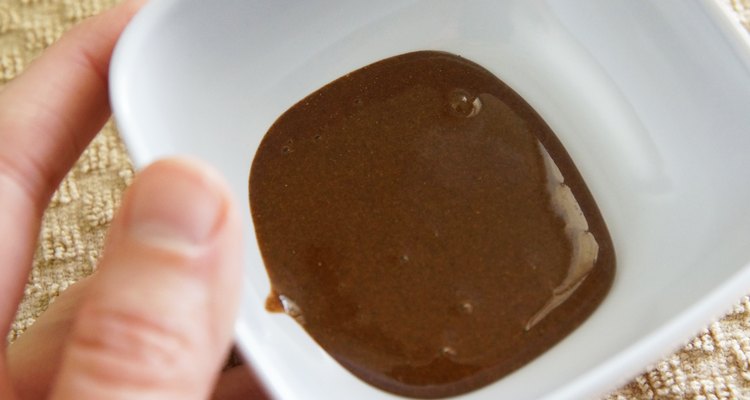
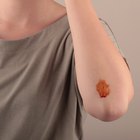
Add 3 tablespoons of honey and 2 tablespoons of cinnamon powder in a clean bowl. Stir the mixture with a spoon until it turns into a paste. Add more cinnamon powder if you want a thicker mixture.
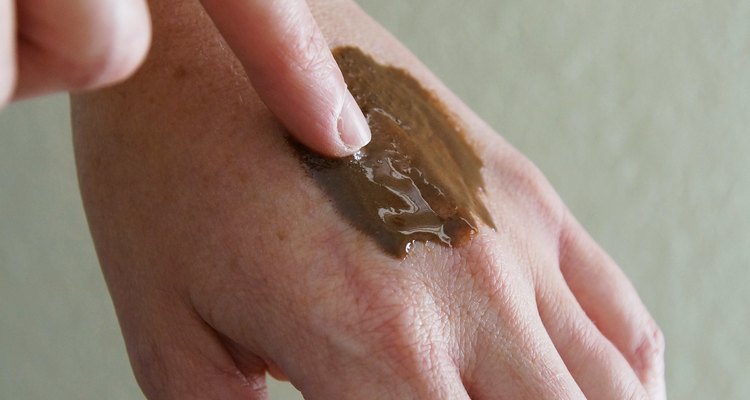
Scoop a generous amount of the honey-cinnamon mixture with your fingers and apply it directly to the irritated skin areas. Gently massage the mixture into your skin in a circular motion until it dries. Leave the mixture on your skin for five minutes.
Wash your skin with water and soap to remove the sticky mixture. Pat your skin dry after cleaning your skin.
Reapply the mixture as needed.
Related Articles

How to Apply Talcum Powder

How to Remove the Smell of Cologne From ...

How to Clean Scuffed Up Rain Boots

How to Remove Nail Glue From Skin

How to Clean an Amethyst Ring

How to Clean Leather Shoes Naturally

How to Make Body Scrub With Olive Oil & ...
How to Get Nail Glue Off of Your Skin

Yogurt Face Mask for Acne

How to Exfoliate Acne Scars

How to Cure Razor Burn on a Woman's ...

How to Make Toasted Bread Sticks With ...
Peeling the Spiny Chayote Squash

How to Prevent Static in Nylon Clothing
How to Remove Betadine From the Skin

How to Mix Baking Soda & Peroxide

How to Get Rid of Irritation From ...

How to Substitute Wheat Germ for Flour
The Best Facial Moisturizer That Won't ...

How to Remove Eyebrow Wax Residue from ...
References
- GoHerbalRemedies: Honey and Cinnamon Combination
- HealthDiaries: 10 Health Benefits of Cinnamon
- Return to Beauty: Old-World Recipes for Great Radiant Skin; Narine Nikogosian; 2009
Warnings
- Seek medical advice from your physician or health care professional if you are suffering from skin irritation.
Writer Bio
Frank Dioso is a trained medical technologist working for prominent research institutions such as Quest Diagnostics and California Clinical Trials. He has, for many years, ghostwritten clinical trial reports for confidential pharmaceutical drugs and is currently contributing his clinical laboratory science knowledge to online how-to articles.
Photo Credits
Jenna Winkeller/Demand Media