
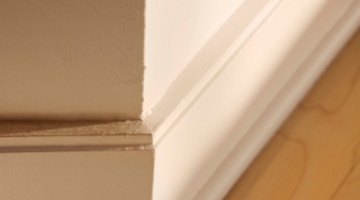
How to Install Plastic Baseboard Molding

The steps for installing plastic baseboard molding are similar to those for regular wood or MDF (medium-density fibreboard) products. Plastic baseboard molding may come in a few more colors or styles than the traditional molding materials.
A downside to plastic baseboard molding is its fragility; during installation, the molding has a tendency to chip or break more frequently than other materials. Using a finer-toothed saw can help prevent some of the problems associated with the chipping or breaking of plastic baseboard materials.
Things You Will Need
- Tape measure
- Miter box
- Miter saw
- Hammer
- 1-inch finish nails
-
Measure the length of each wall to determine the necessary length for each piece of plastic baseboard molding.
-
Mark the molding pieces where you need to cut. Place the molding in a miter box, lining up the cut mark with the appropriate miter box slot. Slots are either 90-degree or 45-degree, left or right.
-
Cut the plastic baseboard molding using a miter saw. Draw the saw back and forth slowly to start the cut. Saw carefully to ensure you avoid chipping the baseboard material.
-
Place the plastic baseboard against the wall to ensure you cut it correctly. Attach the baseboard to the wall using a hammer and 1-inch finish nails.
-
Repeat steps 2 through 3 to finish installing the plastic baseboard molding around the other walls in the room.
The Drip Cap
- The steps for installing plastic baseboard molding are similar to those for regular wood or MDF (medium-density fibreboard) products.
- Using a finer-toothed saw can help prevent some of the problems associated with the chipping or breaking of plastic baseboard materials.
- Measure the length of each wall to determine the necessary length for each piece of plastic baseboard molding.
References
- "The Complete Photo Guide to Homeowner Basics"; Black & Decker; 2008
Writer Bio
Daniella Lauren has worked with eHow and various new media sites as a freelance writer since 2009. Her work covers topics in education, business, and home and garden. Daniella holds a Master of Science in elementary education and a Bachelor of Arts in history from Pensacola Christian College.
Photo Credits
- Jupiterimages/Creatas/Getty Images
- Jupiterimages/Creatas/Getty Images
More Articles