Although you can enable and disable closed captioning using your television settings, this doesn't always work when watching HD channels. To fix this, you can change the closed captioning settings straight from your HD cable box instead. With closed captioning enabled, text is displayed at the bottom of the screen showing what people are saying onscreen. This helps those with hearing problems understand what's going on in a scene. You can also easily disable closed captioning if hearing isn't a problem.
Step 1
Ensure that your HD cable box is plugged into an electrical outlet and that it has been properly connected to the television. Turn on your television but keep your cable box turned off.
Video of the Day
Step 2
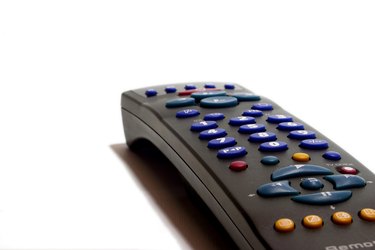
Press the menu button on your cable box remote. A User Settings screen will display on your television.
Step 3
Use the directional buttons on the remote to navigate to the Closed Caption option in the menu. This will list whether closed captioning is currently enabled or disabled. Press the remote's directional buttons right or left in order to change the Closed Caption option.
Step 4
Change the way closed captioning looks on your system in the Options section under the Closed Caption option. You can change the font size and style as well as the color and opacity of the text.
Step 5
Press the menu button again to exit the User Settings menu and save the settings. The next time you turn on your cable box, these closed captioning settings should take effect on any of your standard or HD channels.
Video of the Day