
The Best Way to Edge a Mosaic Tile Table

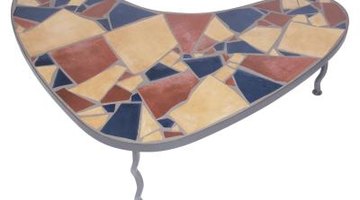
The art of making mosaics dates back to at least the fourth century. Over the years, the art has flourished, and it is no longer reserved for nobles but can be enjoyed by everyone. By making a mosaic tile table, you not only continue the tradition of mosaic art, but add another dimension to what could otherwise be just another piece of furniture. For a piece that can weather the tests of time, you need to apply the best way to edge a mosaic tile table.
Prepare the Table
You don't necessarily have to create a table from scratch to have a mosaic tile table--you can make use of an existing table for your project. However, care must be given to the table before the mosaic tiles can be laid. If you choose to use a wood table, you must treat the surface with a water-resistant sealer that will keep the wood from drying out or warping over time. A marine sealant or finish--up to three coats--works wonders.
A Wood Edge
One lovely way to edge a mosaic tile table is to edge it with wood. In this way, it would resemble a picture frame. Care must be taken to seal this wood as well. You might also want to varnish the wood so it either blends in with the rest of the table or contrasts with it, making a statement. In any case, you want to make this edging slightly higher than the adhesive and the mosaic tile.
A Metal Edge
Another excellent and potentially striking way to edge a mosaic tile table is to use metal such as copper. The metal does not need to be treated. Just as with the wood, this edging needs to be a touch higher than the height of the adhesive and mosaic tile combined. To make sure that the metal edge is securely attached, fasten it to the tables with nails spaced an inch apart. This keeps the adhesive in place on the top of the table and not oozing down the side.
References
Writer Bio
Marjorie Gilbert is a freelance writer and published author. An avid researcher, Gilbert has created an Empire gown (circa 1795 to 1805) from scratch, including drafting the gown's patterns by hand.
Photo Credits
- Hemera Technologies/PhotoObjects.net/Getty Images
More Articles