Things You'll Need
Toilet
Ceramic tiles
Tile saw or nippers
Paper/cardboard
Pencil
Tile marker
Caulk or silicone
Wax ring

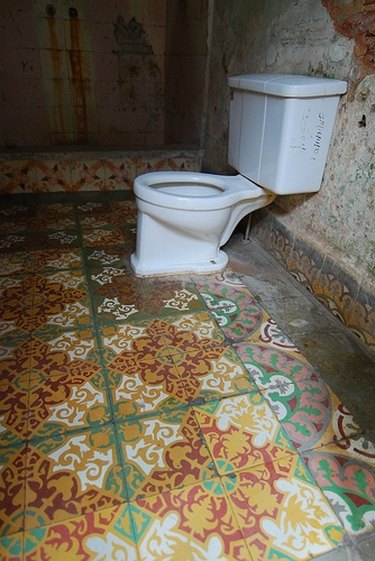
When installing ceramic tile in a bathroom, you've got a couple of choices: either tile around the existing toilet, or remove the toilet and go underneath. Which one you choose depends on your DIY experience. If you've worked with plumbing before, you might want to remove the toilet before you place the tile. This way is harder, but some DIYers find the result more aesthetically pleasing.
Step 1
Plan your tile laying carefully. Do a "dry run" by laying your tile out on the bathroom floor. In the first phase of construction, you want to tile the entire bathroom with the exception of a 1-tile space around the toilet. This is because you will need to cut these tiles individually to fit.
Video of the Day
Step 2
Spread adhesive on the floor, keeping in mind the space to keep free around the toilet. Set your tiles in the adhesive using tile spacers to keep the tiles spaced evenly.
Step 3
Allow the tiles and adhesive to dry.
Step 4
Make a dummy tile by setting a floor tile onto a piece of cardboard or thick paper and tracing the outline of the tile with a pencil. Cut the shape out so that you have a piece of paper the same size as your tiles. Set your dummy tile between the edge of the placed tile and the toilet. Bend the cardboard back on the dummy tile where it meets the base of the toilet. Keeping the dummy tile folded back, place this over a tile. Use the folded dummy tile as a pattern and trace the bent edge on the tile to show you where you need to cut. Do this for all the tiles surrounding the toilet.
Step 5
Use a tile saw or nippers to cut off the excess portions of your tiles. Check the fit occasionally by setting the tile on the ground between the finished tiles and the toilet. Do this for all the tiles.
Step 6
Spread the adhesive on the ground next to the toilet. Place the tiles, being careful to put each cut tile in the position it has been cut for.
Step 7
Grout the tiles when dry.
Step 8
Caulk around the base of the toilet. Check for leaks.
Step 9
Remove the old toilet. First, turn off the water supply to the tank and remove the supply hose. Then unbolt the tank from the bowl by unscrewing the bolts in the bottom of the tank. Remove the tank and set aside. Unscrew the bolts at the base of the toilet bowl to remove it from the floor flange. Gently rock the toilet back and forth until it comes loose from the base. Clean any wax ring residue still stuck to the flange.
Step 10
Follow the steps as above. Only instead of running the tile up to one row away from the toilet, in this case you're going to want to run the tiles up to one row away from the circular toilet flange in the floor, laying tiles where the toilet will rest on the floor.
Step 11
Cut the tiles so that they fit neatly around the toilet flange.
Step 12
Grout the tiles when dry.
Step 13
Clean the toilet bottom off and insert a new wax ring. Reinstall the bowl and tank. Caulk around the edge and test for leaks.
Tip
Always do a dry run of your tile installation to ensure that you have enough material to finish the job.
Warning
Use safety goggles and gloves when working with tile sawing equipment.
Video of the Day