Changing a Photoshop document from portrait mode to landscape mode is just a matter of rotating it or changing its dimensions, either of which is easy. Rearranging the artwork in the document is where the process can become more difficult. There are two ways to change a document from portrait to landscape mode in Photoshop CC 2014. Rotating the image 90 degrees turns everything on its side, so you may have to rotate the layers or copy and paste graphics in new positions. Changing the canvas dimensions is the other option, which doesn't rotate the artwork inside the canvas.
Rotating the Image
Video of the Day
Step 1
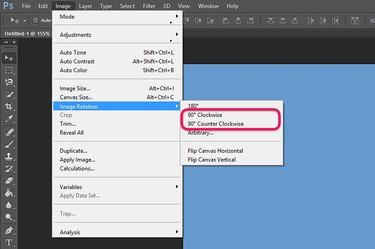
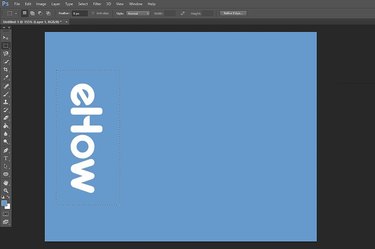
Open any Photoshop document that's in portrait mode. If you have a flat image without multiple layers, press "Ctrl-A" to select all, then "Ctrl-C" to copy the document to the clipboard. Select "Image Rotation" from the File menu and select a 90-degree rotation, either clockwise or counterclockwise, to rotate the image to landscape mode.
Video of the Day
Step 2
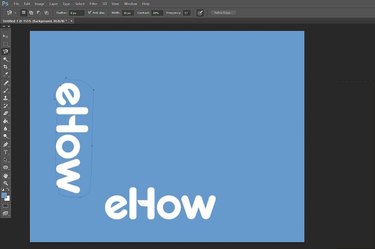
Press "Ctrl-V" if you copied the image to paste it into a new layer. You can resize elements on the layer if needed by selecting "Transform" from the Edit menu and selecting "Scale." Click the "Lasso Tool" or "Magnetic Lasso Tool" from the Toolbox and select any text or artwork in the document that needs to be rotated back to its original orientation. Delete the original elements from the Background layer and flatten the image.
Step 3
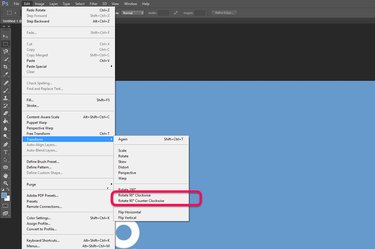
Rotate a document with multiple layers by selecting "Image Rotation" from the File menu. Select each layer that needs to be rotated back to its original orientation in the Layers panel. Select "Transform" from the Edit menu and then select the "Rotate 90 Degrees" option that is in the opposite direction from how you rotated the image itself. Drag each layer as needed using the "Move Tool" and resize it by selecting "Scale" under the Edit menu's Transform option.
Resize the Canvas
Step 1
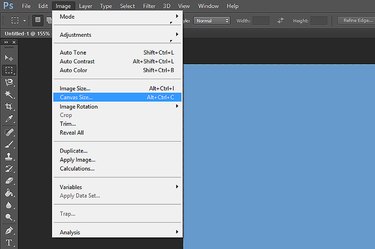
Select "Canvas Size" from the Photoshop Image menu. The Canvas Size window opens above your image.
Step 2
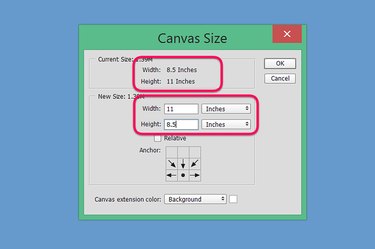
Click the "Width" text field in the Canvas Size window. Type the image's current height in this field. Type the current width in the "Height" text field. At its default setting, changing the canvas size anchors the new dimensions to the center of the image. If your important content is not in the center, change the anchor. For example, if your artwork is near the bottom of the canvas, anchor the new canvas to the bottom.
Step 3

Adjust the document as needed by resizing its artwork or moving objects to suit the new orientation. To fill in any blank margins when you have a solid colored background, use the "Eyedropper Tool" from the Toolbox to match the background color and then use the "Brush Tool" to paint over the margins.
Printing in Landscape Mode
Step 1
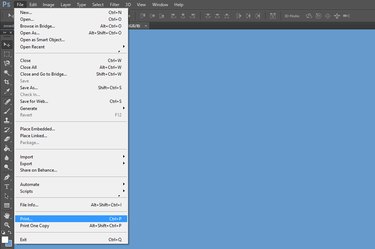
Launch Photoshop Print Settings by selecting "Print" from the File menu. Alternatively, press "Ctrl-P."
Step 2
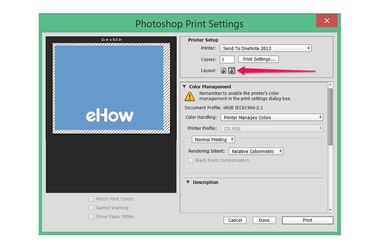
Click the "Landscape" button in the Photoshop Print Settings window. Select your preferred printer from the Printer menu and specify how many copies you want printed.
Step 3
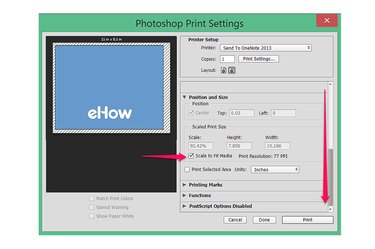
Scroll down to the Position and Size section of the menu. Click the "Scale to Fit Media" check box. This automatically adjusts the document size to fit your paper size.