Things You'll Need
Lamp base
Lamp body
Washer
Nut
Threaded pipe
Electrical wire
Lock nut
Neck
Harp bottom
Socket cap
Wire cutters and strippers
Screwdriver
Socket shell
Harp
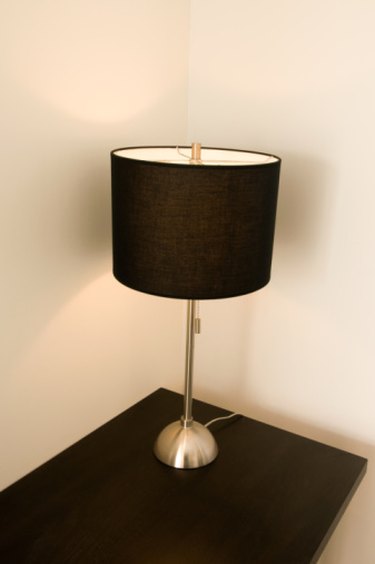
Lamp shade
Finial
A table lamp often looks very complicated or sleek, and you may have trouble imagining how it might be put together. No matter how sleek the look, underneath, it is still a table lamp. The basic design of a table lamp makes it easy to put together and simple enough for the average homeowner.
Step 1
Assemble all of the pieces of your lamp. Place the lamp base on the work table followed by the body of the lamp. The lamp base often has a hole in the center and legs to allow the lamp wire to exit down to the outlet. The body of the lamp can look like anything from a vase to a block of wood. It should have a hole on both top and bottom.
Video of the Day
Step 2
Slide the lamp rod into the top hole of the body of the lamp, out the bottom hole, through the hole in the lamp base with the feet pointing away from the lamp. Place a washer over the end of the threaded pipe and screw a lock nut securely in place, or just turn the body in the base until it's tight, depending on the model of lamp.
Step 3
Thread your lamp wire into the bottom of the pipe and up and out of the top of the pipe. Place a lock nut over the end of the wires at the top of the lamp base and screw the nut down. Place the neck over the nut -- some lamps do not have a neck -- and position the bottom part of the harp with the ends pointing up. The harp is the curved wire that fits around the bulb.
Step 4
Place the socket cap over the bottom of the harp and screw the socket cap to the threaded pipe, making sure it is securely tightened and facing upward. Pull the wires apart 2 inches. Strip off the insulation on 1 inch of each wire using a wire stripper.
Step 5
Spread the two wires into a Y shape. Tie the wire into an underwriter's knot. Bring the left wire to the right behind the right wire and form a small loop so that the left wire is behind the right wire and pointing to the left. Bring the right wire to the left in front of the left wire and form a small loop so that the right wire is in front of the left wire and pointing to the right. Take the wire that is now pointing to the right, through the right loop from front toward the back and to the right. At the same time take the wire that is now pointing to the left, through the left loop from behind and to the front and left. This will form a pretzel-like shape.
Step 6
Twist the wire ends. Wrap the hot wire around the gold screw on the bulb socket and screw the screw tight. Usually the insulation over the neutral wire will have ridges or the hot wire insulation will be a darker color. Wrap the neutral wire around the silver screw and screw the screw tight.
Step 7
Place the socket shell over the bulb socket so that the bulb socket is fully covered. Tuck the cords inside. Slide the socket shell into the upward facing socket cap. Squeeze the ends of the harp and slide the ends into the bottom harp assembly. Screw a bulb into the socket. Position the lamp shade over the threaded post at the top of the harp and secure the shade in place with a finial nut.
Tip
Some lamps may have additional or missing pieces depending on how they are constructed. When your lamp is assembled the pieces should be secure so that the lamp stands straight and everything operates correctly.
Video of the Day