Things You'll Need
Coin, jewelry piece or charm
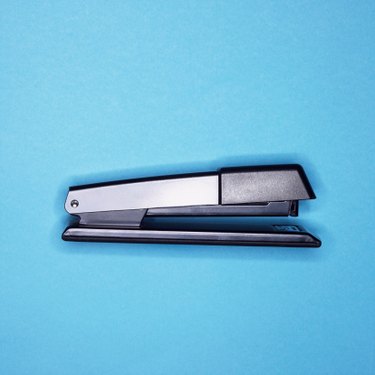
Stapler
Flat piece of metal
Construction adhesive

Create your own embosser and you create a world of paper possibilities. Take ordinary objects and turn them into embossers with your name, initials or your favorite design. Use your embosser in cards, scrapbooking or to mark items as your own such as books and stationery. Make several with various designs and give them as gifts to friends and family who scrapbook or make cards.
Step 1
Choose your embossed design. Look for elaborate coins, jewelry with your initials or charms, or interesting pieces of wood.
Video of the Day
Step 2
Apply a flat piece of metal the same size as your embossed design to the bottom arm of a stapler. Use construction adhesive to secure it into place.
Step 3
Secure the design to the top arm of the stapler, where the staples would typically come out. Use construction adhesive and allow the stapler to dry overnight.
Step 4
Insert a piece of paper into the stapler and press gently. Experiment with the pressure needed to emboss your design onto the paper without tearing through it.
Tip
Make sure there are no staples in the stapler.
For large embossed designs use pliers instead of a stapler so you can open the embosser further.
Use a full-sized desk stapler for embossing books or large pieces of paper so you can place the embossed design where you want it.
Ask a friend to carve a design or your name or initials into a small piece of wood.
Create several embossers for scrapbooking using small staplers.
Video of the Day