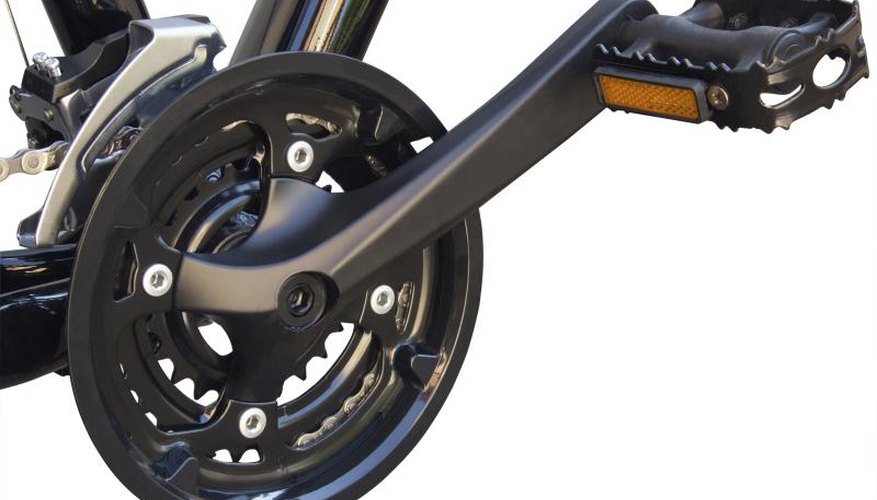


On a bicycle, the crank is the part that connects the pedal to the bottom bracket axle. Measuring the crank accurately is important if it needs to be replaced, and often riders choose cranks with a specific length based on the rider's stature and the size of the bicycle. The crank is sometimes referred to as the arm or, somewhat redundantly, the crank arm.
Crank Measurements
Bicycle crank sizes are measured in millimeters, so you will need a metric ruler or tape measure. To determine the crank length on your bicycle, measure the distance from the center of the crank bolt that connects the crank to the axle, to the center of the pedal spindle that connects the pedal to the crank. It may be easier to get an accurate measurement if you remove the pedal from the crank. It should not be necessary to remove the crank from the bicycle.
Choosing the Right Crank Length
Cranks typically measure 165, 170, 172.5, 175 or 180 millimeters in length. If you are replacing the cranks on your bicycle, you may select a size based on your height and the size of your bicycle frame. Longer cranks are generally more comfortable for taller riders and larger bikes, and the inverse is true of shorter riders and smaller bikes.
References
Writer Bio
When Richard Corrigan isn't writing about the outdoors, he's probably outside experiencing them firsthand. Since starting out as a writer in 2009, he has written for USA Today, the National Parks Foundation and LIVESTRONG.com, among many others, and enjoys combining his love of writing with his passion for hiking, biking, camping and fishing.