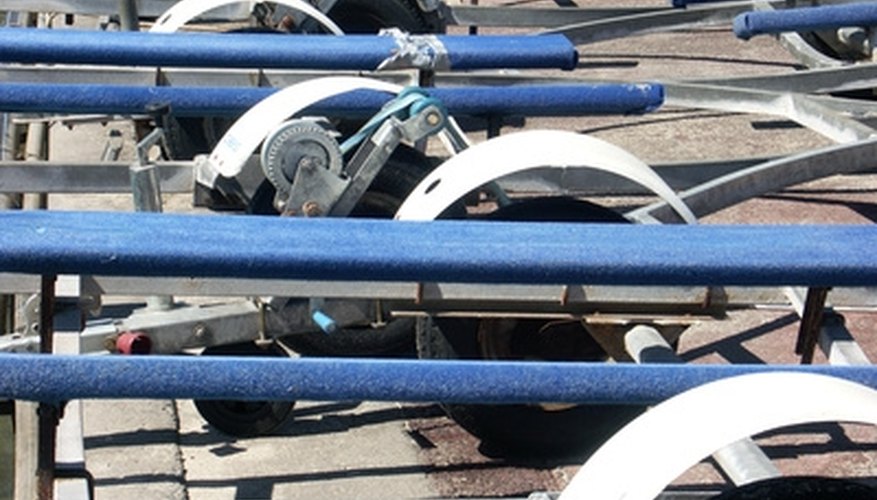

Many boat trailers have brake systems. Boat brake systems are either electric brakes actuated by a switch in the tow vehicle brake pedal, or hydraulic surge brakes. Surge brakes work when a hydraulic pushrod senses deceleration from the tow vehicle and sends hydraulic fluid that applies the brakes. These brakes are fairly simple and can be repaired by the boat owner using tools available in most home workshops and supplies purchased in boat marinas or auto parts stores.
Items you will need
Tire chocks
Wood or cement block
Tire jack
Flathead screwdriver
Brake fluid
Bleeder hose
Park the trailer on a level area. Chock the tires to prevent the trailer from moving. Remove the trailer from the trailer hitch. Slide the hydraulic pushrod back so the trailer brakes are engaged.
Reattach the trailer and ensure the hitch sits firmly on the ball. Lock the hitch in place and physically move the hitch on the ball to ensure there is less than 1/8 inch of physical movement. Remove the hitch from the ball and place a block of wood or cement at the front of the hitch so it is level to the ground.
Readjust the brakes if the brake system is running too hot or chatters/clunks. Use a jack to raise the right tire. Remove the plug from the adjusting slot on the wheel and insert a flathead screwdriver. Place the screwdriver in the star nut on the brake assembly and turn counterclockwise until the wheel turns freely by hand. When the wheel is turning freely, turn the screwdriver in the opposite direction for eight to 10 clicks. The brake is now adjusted at the optimum level. Lower the trailer and adjust the left wheel in the same manner.
Bleed the brake system if the brakes completely fail or work intermittently. Fill the brake reservoir with automotive brake fluid. Connect a bleeder hose to the bleed fitting and sink the other end in a cup full of brake fluid. Use a screwdriver to open the bleed screw fitting. Direct a helper to slide in the surge pushrod at the front of the trailer. Observe air bubbles coming from the bleeder hose into the cup of brake fluid. Use the screwdriver to close the bleed screw fitting and have the helper relieve pressure on the surge pushrod. Repeat this procedure several times until no air escapes from the bleeder hose. Refill the brake reservoir. Repeat this procedure for each brake reservoir on the trailer.
Check the system to ensure proper operation. Raise each wheel with a jack. Rapidly spin a tire and direct a helper to slide in the surge pushrod. The tires should quickly stop. Direct the helper to release the surge pushrod and spin the tire. It should freely move with only a slight scraping sound. Perform the same check for all trailer wheels. Remove the chocks. Attach the trailer to the tow vehicle.
Tips
- Check brake documentation to see what type of brake fluid is approved for your particular brake system.
References
Tips
- Check brake documentation to see what type of brake fluid is approved for your particular brake system.
Writer Bio
This article was written by the CareerTrend team, copy edited and fact checked through a multi-point auditing system, in efforts to ensure our readers only receive the best information. To submit your questions or ideas, or to simply learn more about CareerTrend, contact us [here](http://careertrend.com/about-us).